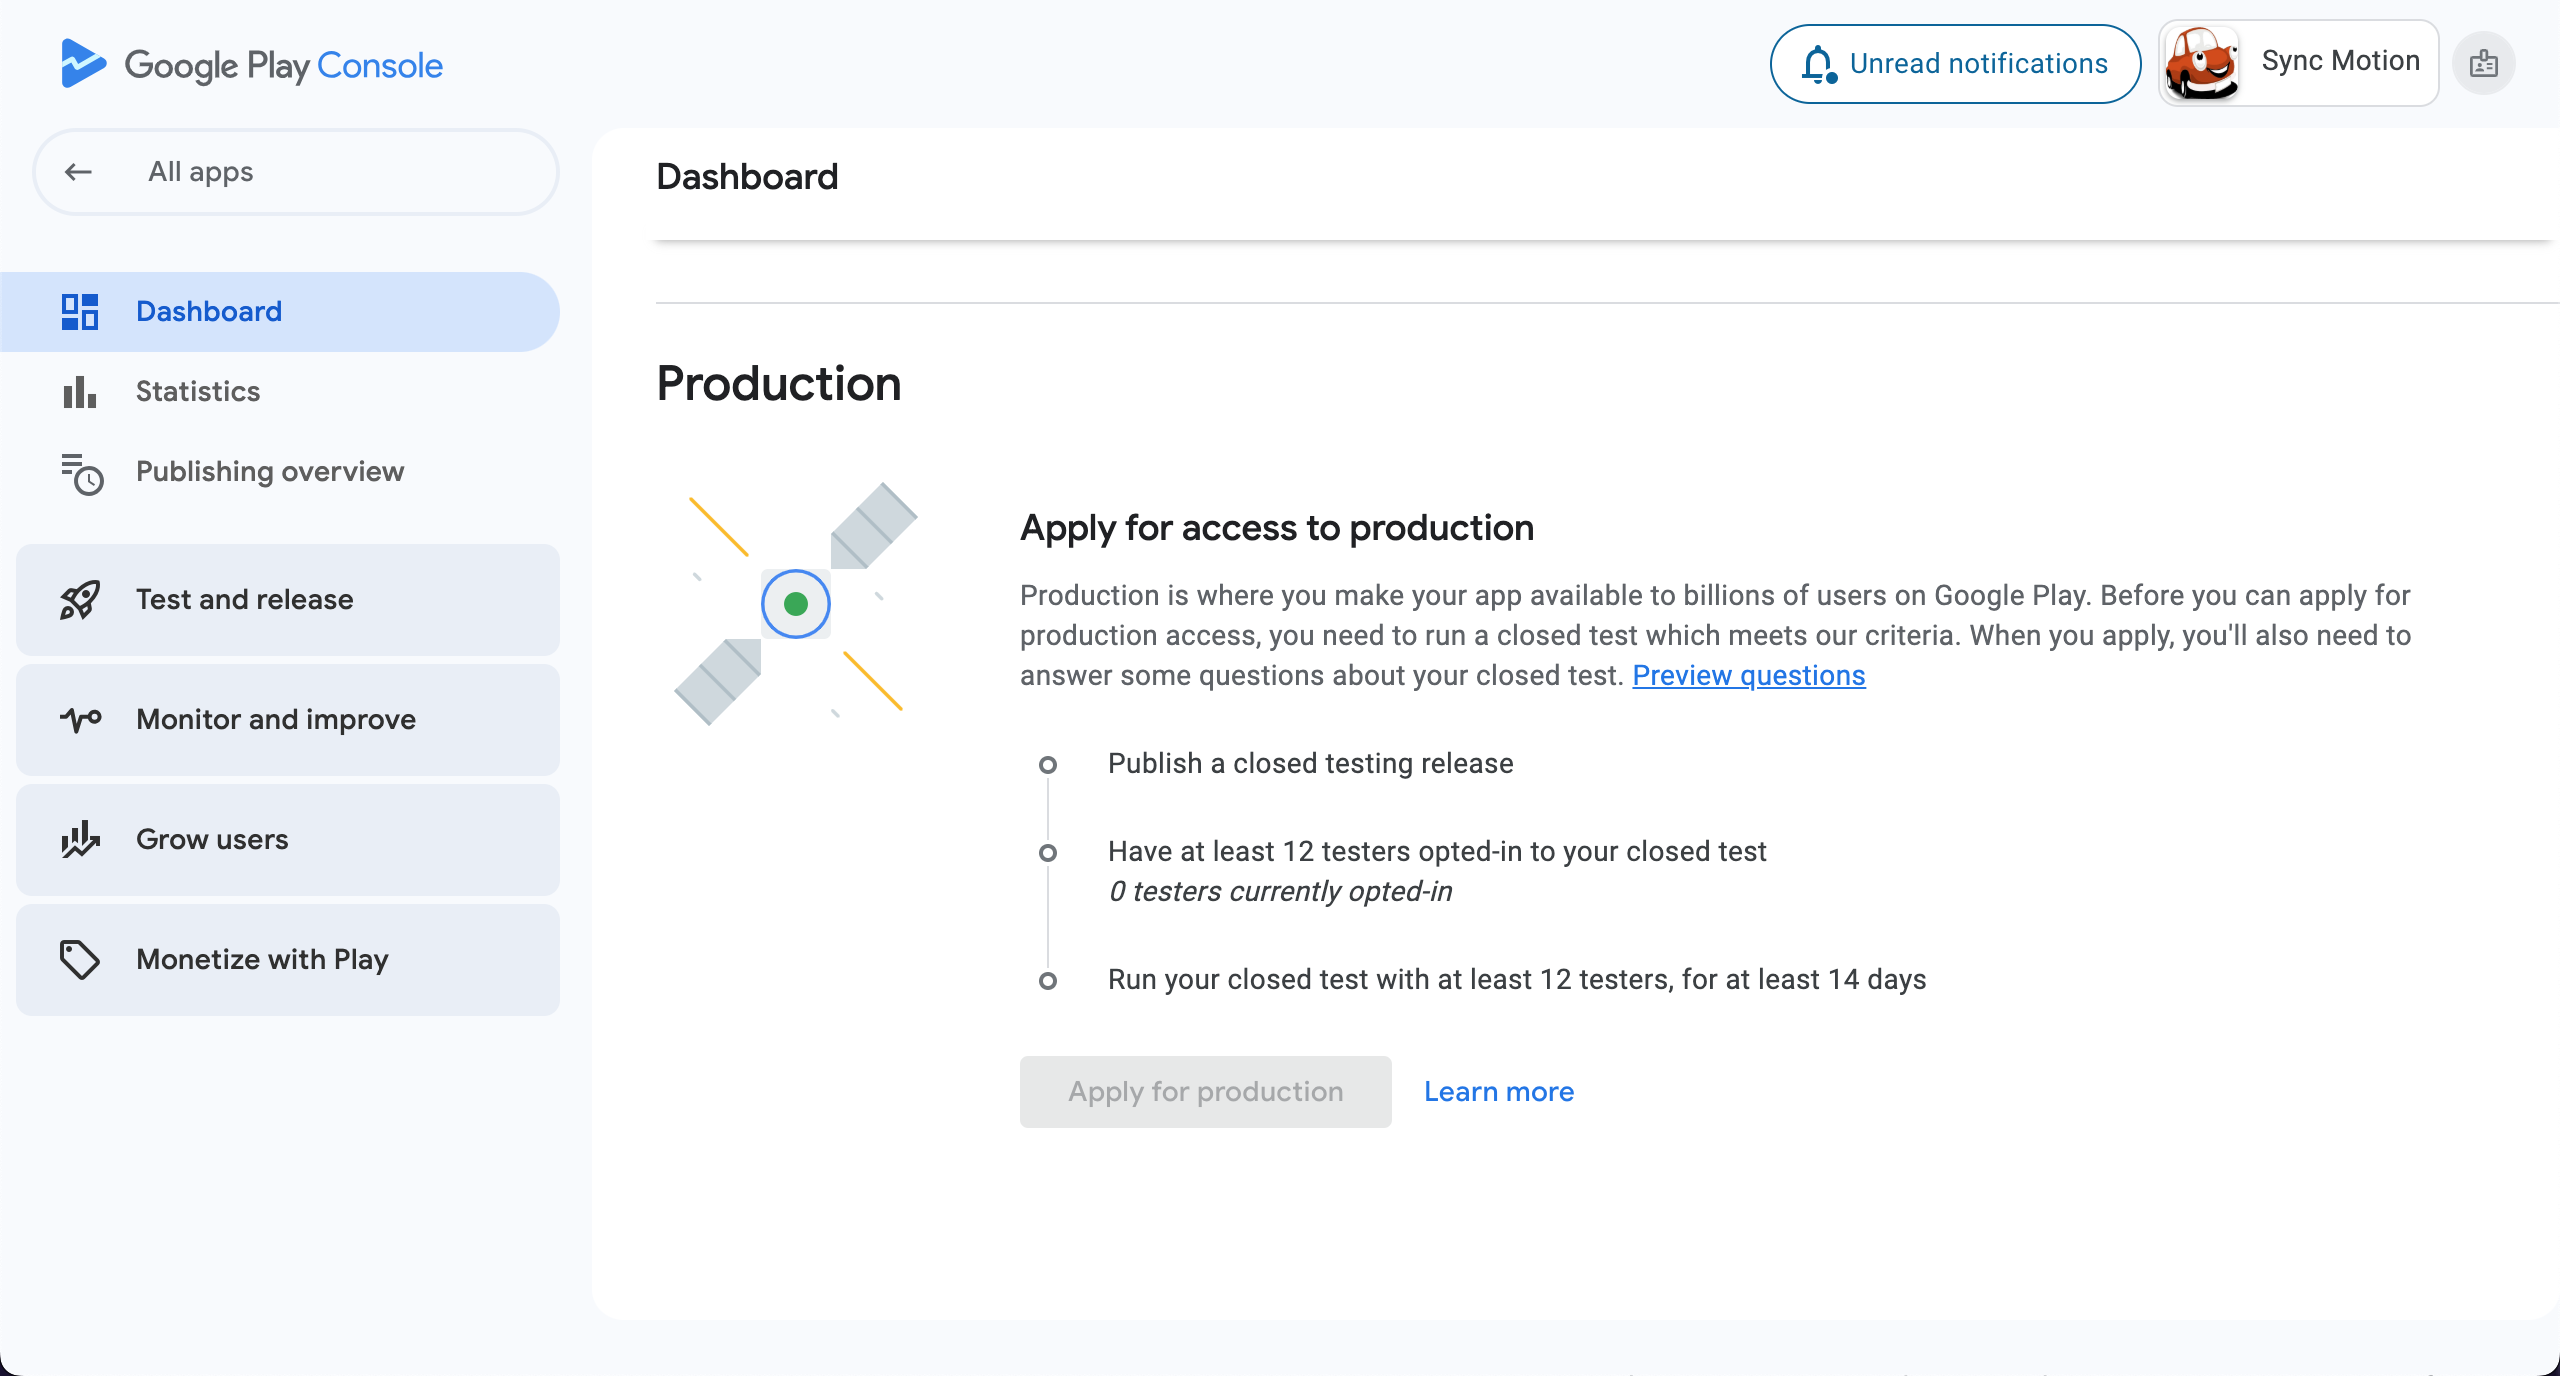
Publish In Closed Testing
- To publish application first you have to upload it in closed testing and have to test for 14 days at-least with 12 testers.
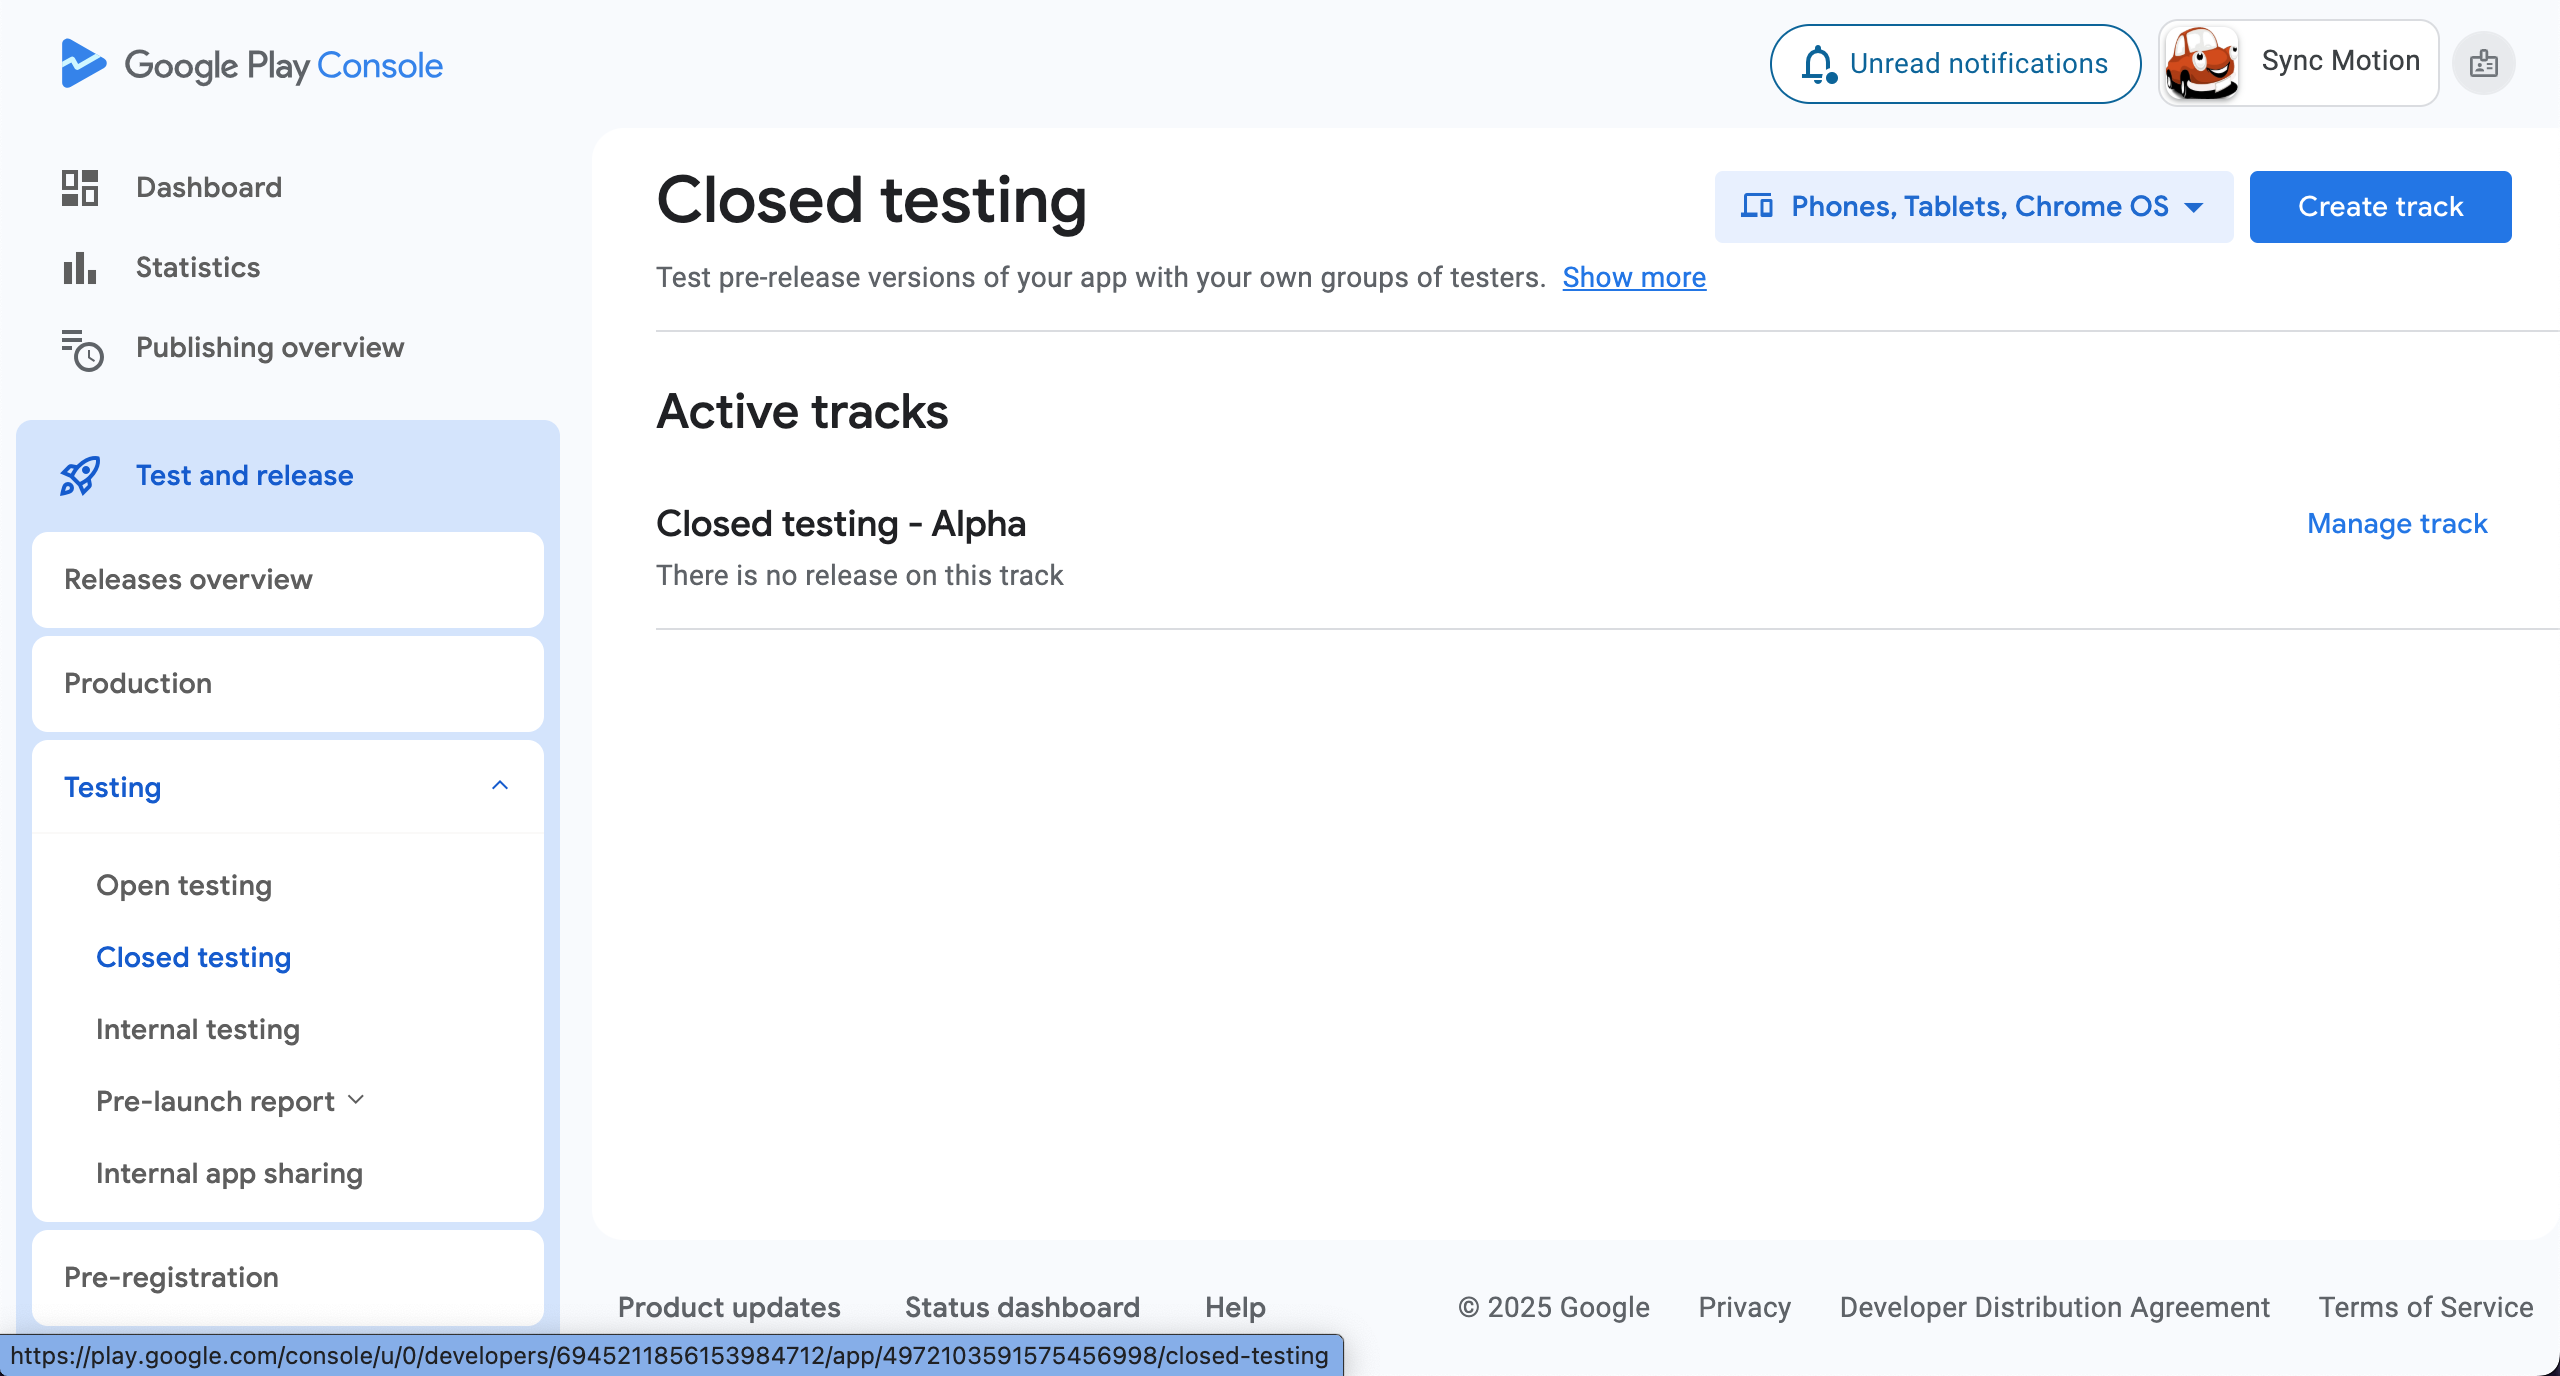
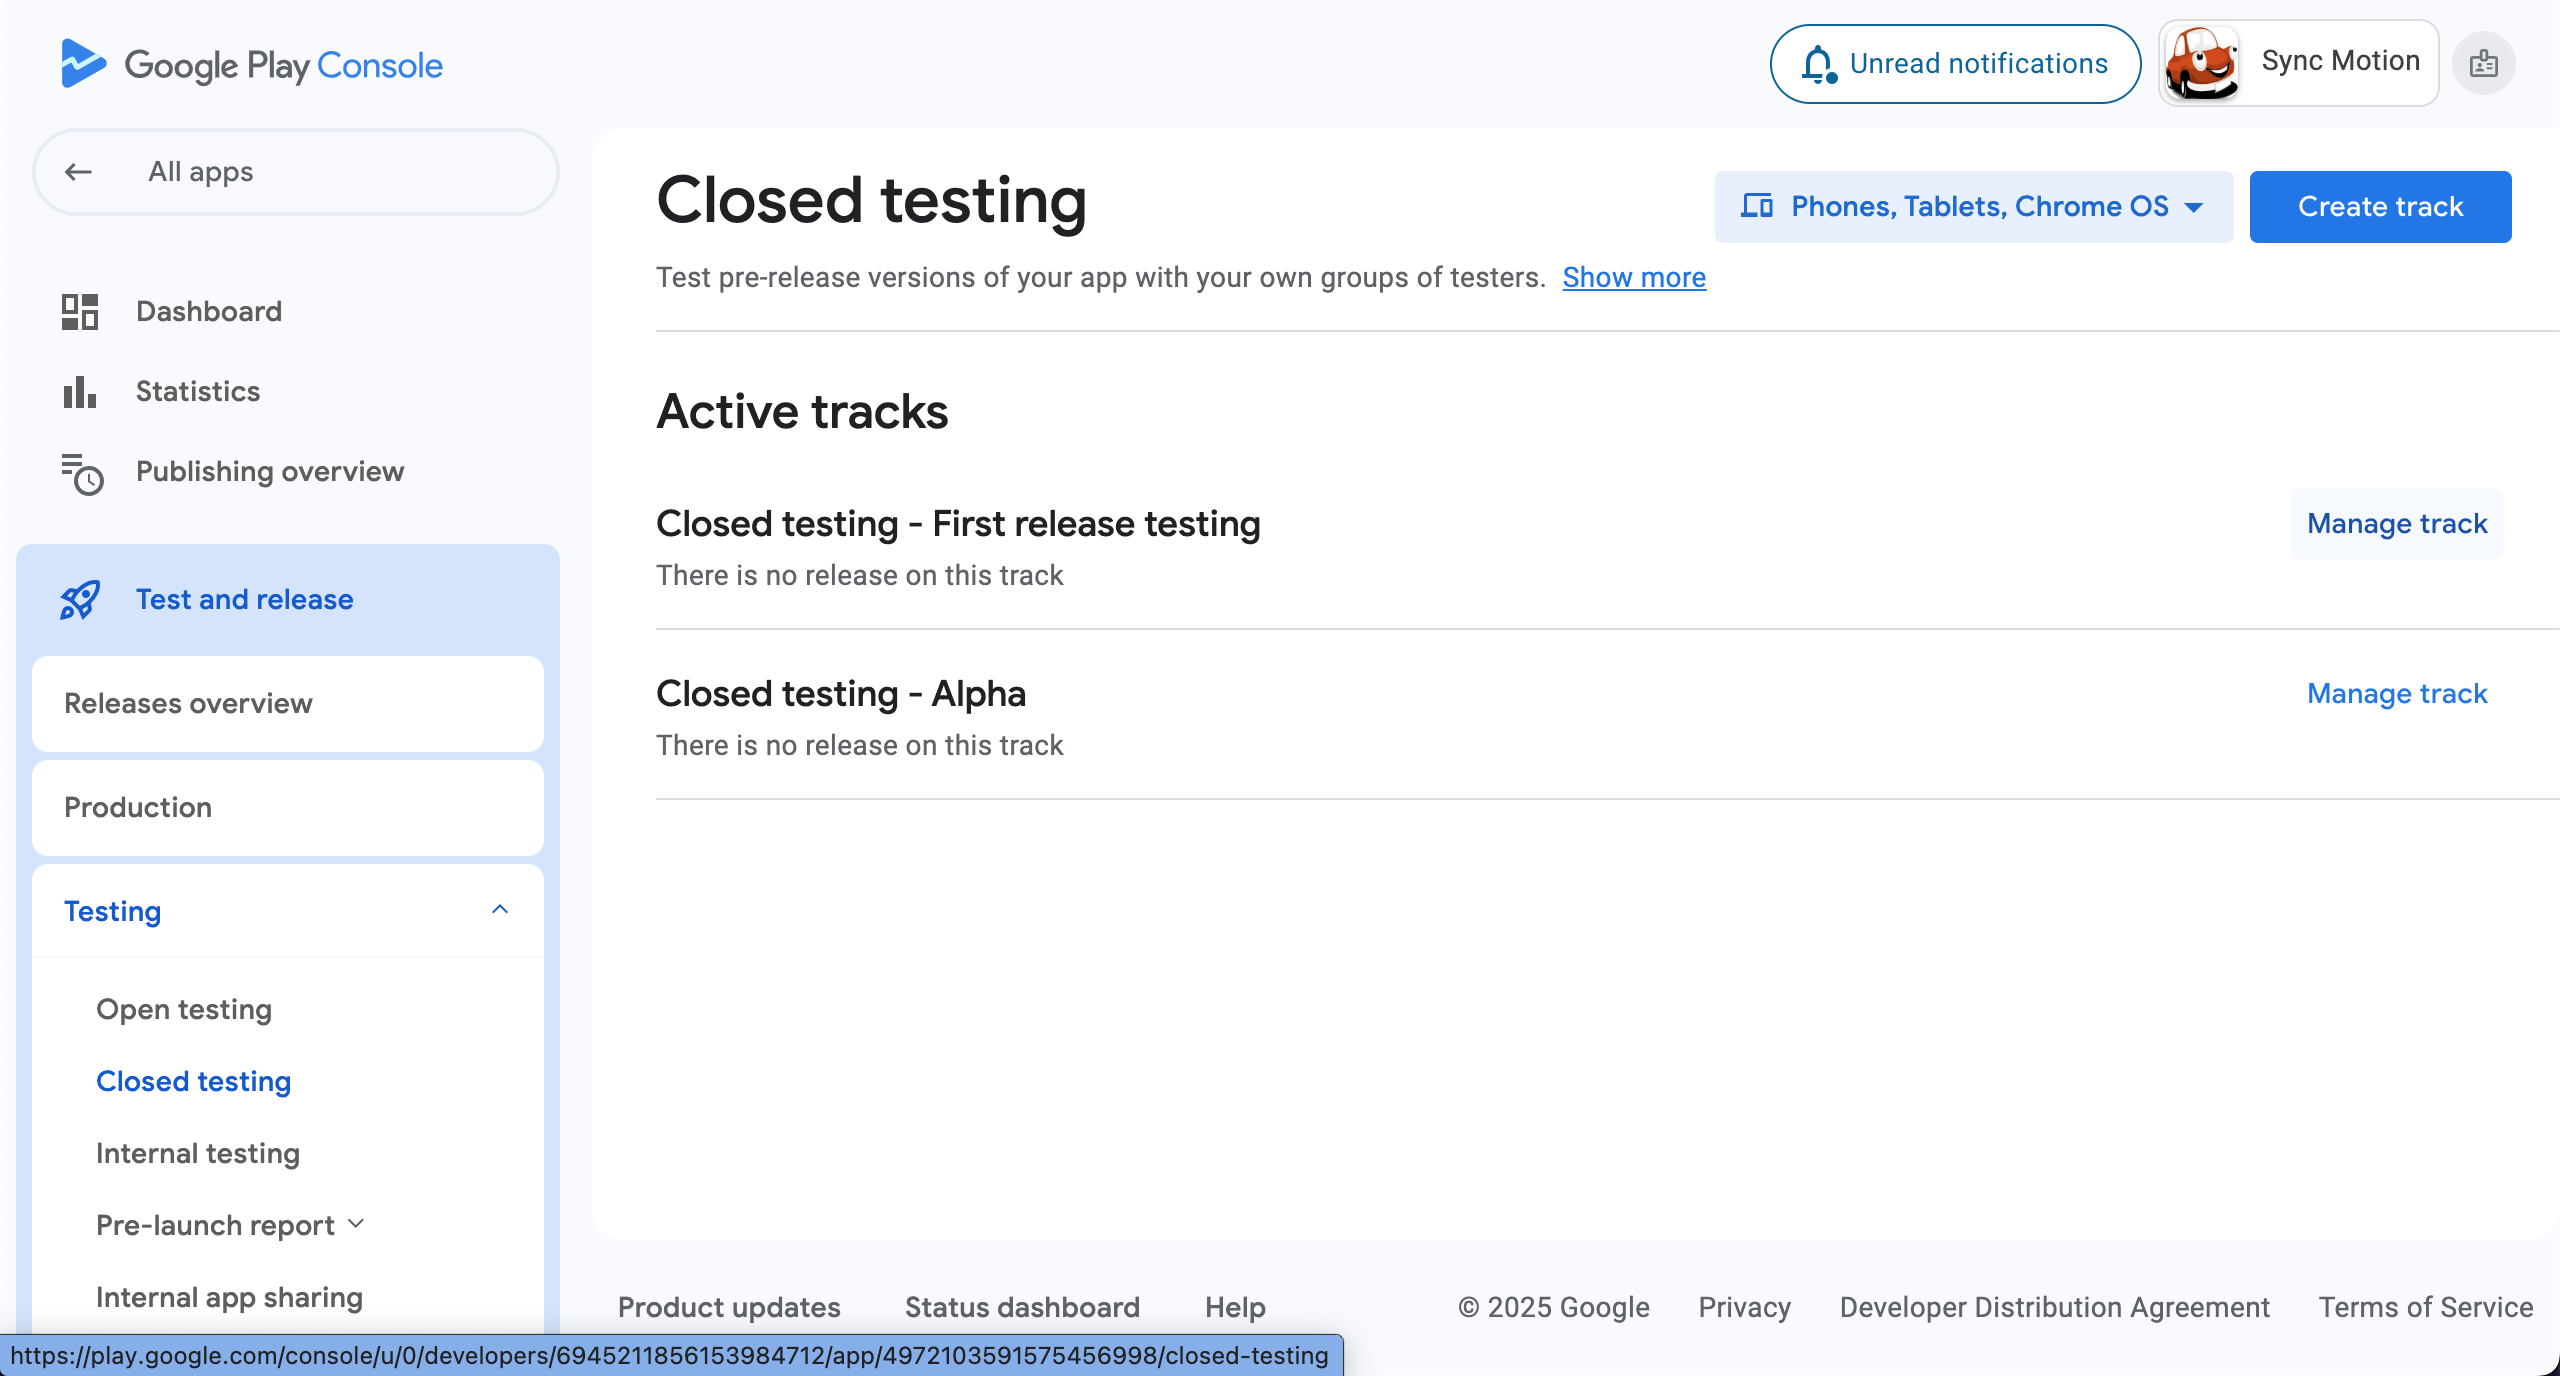
- Go to Test and release > Testing > Closed testing and tap on Create track.
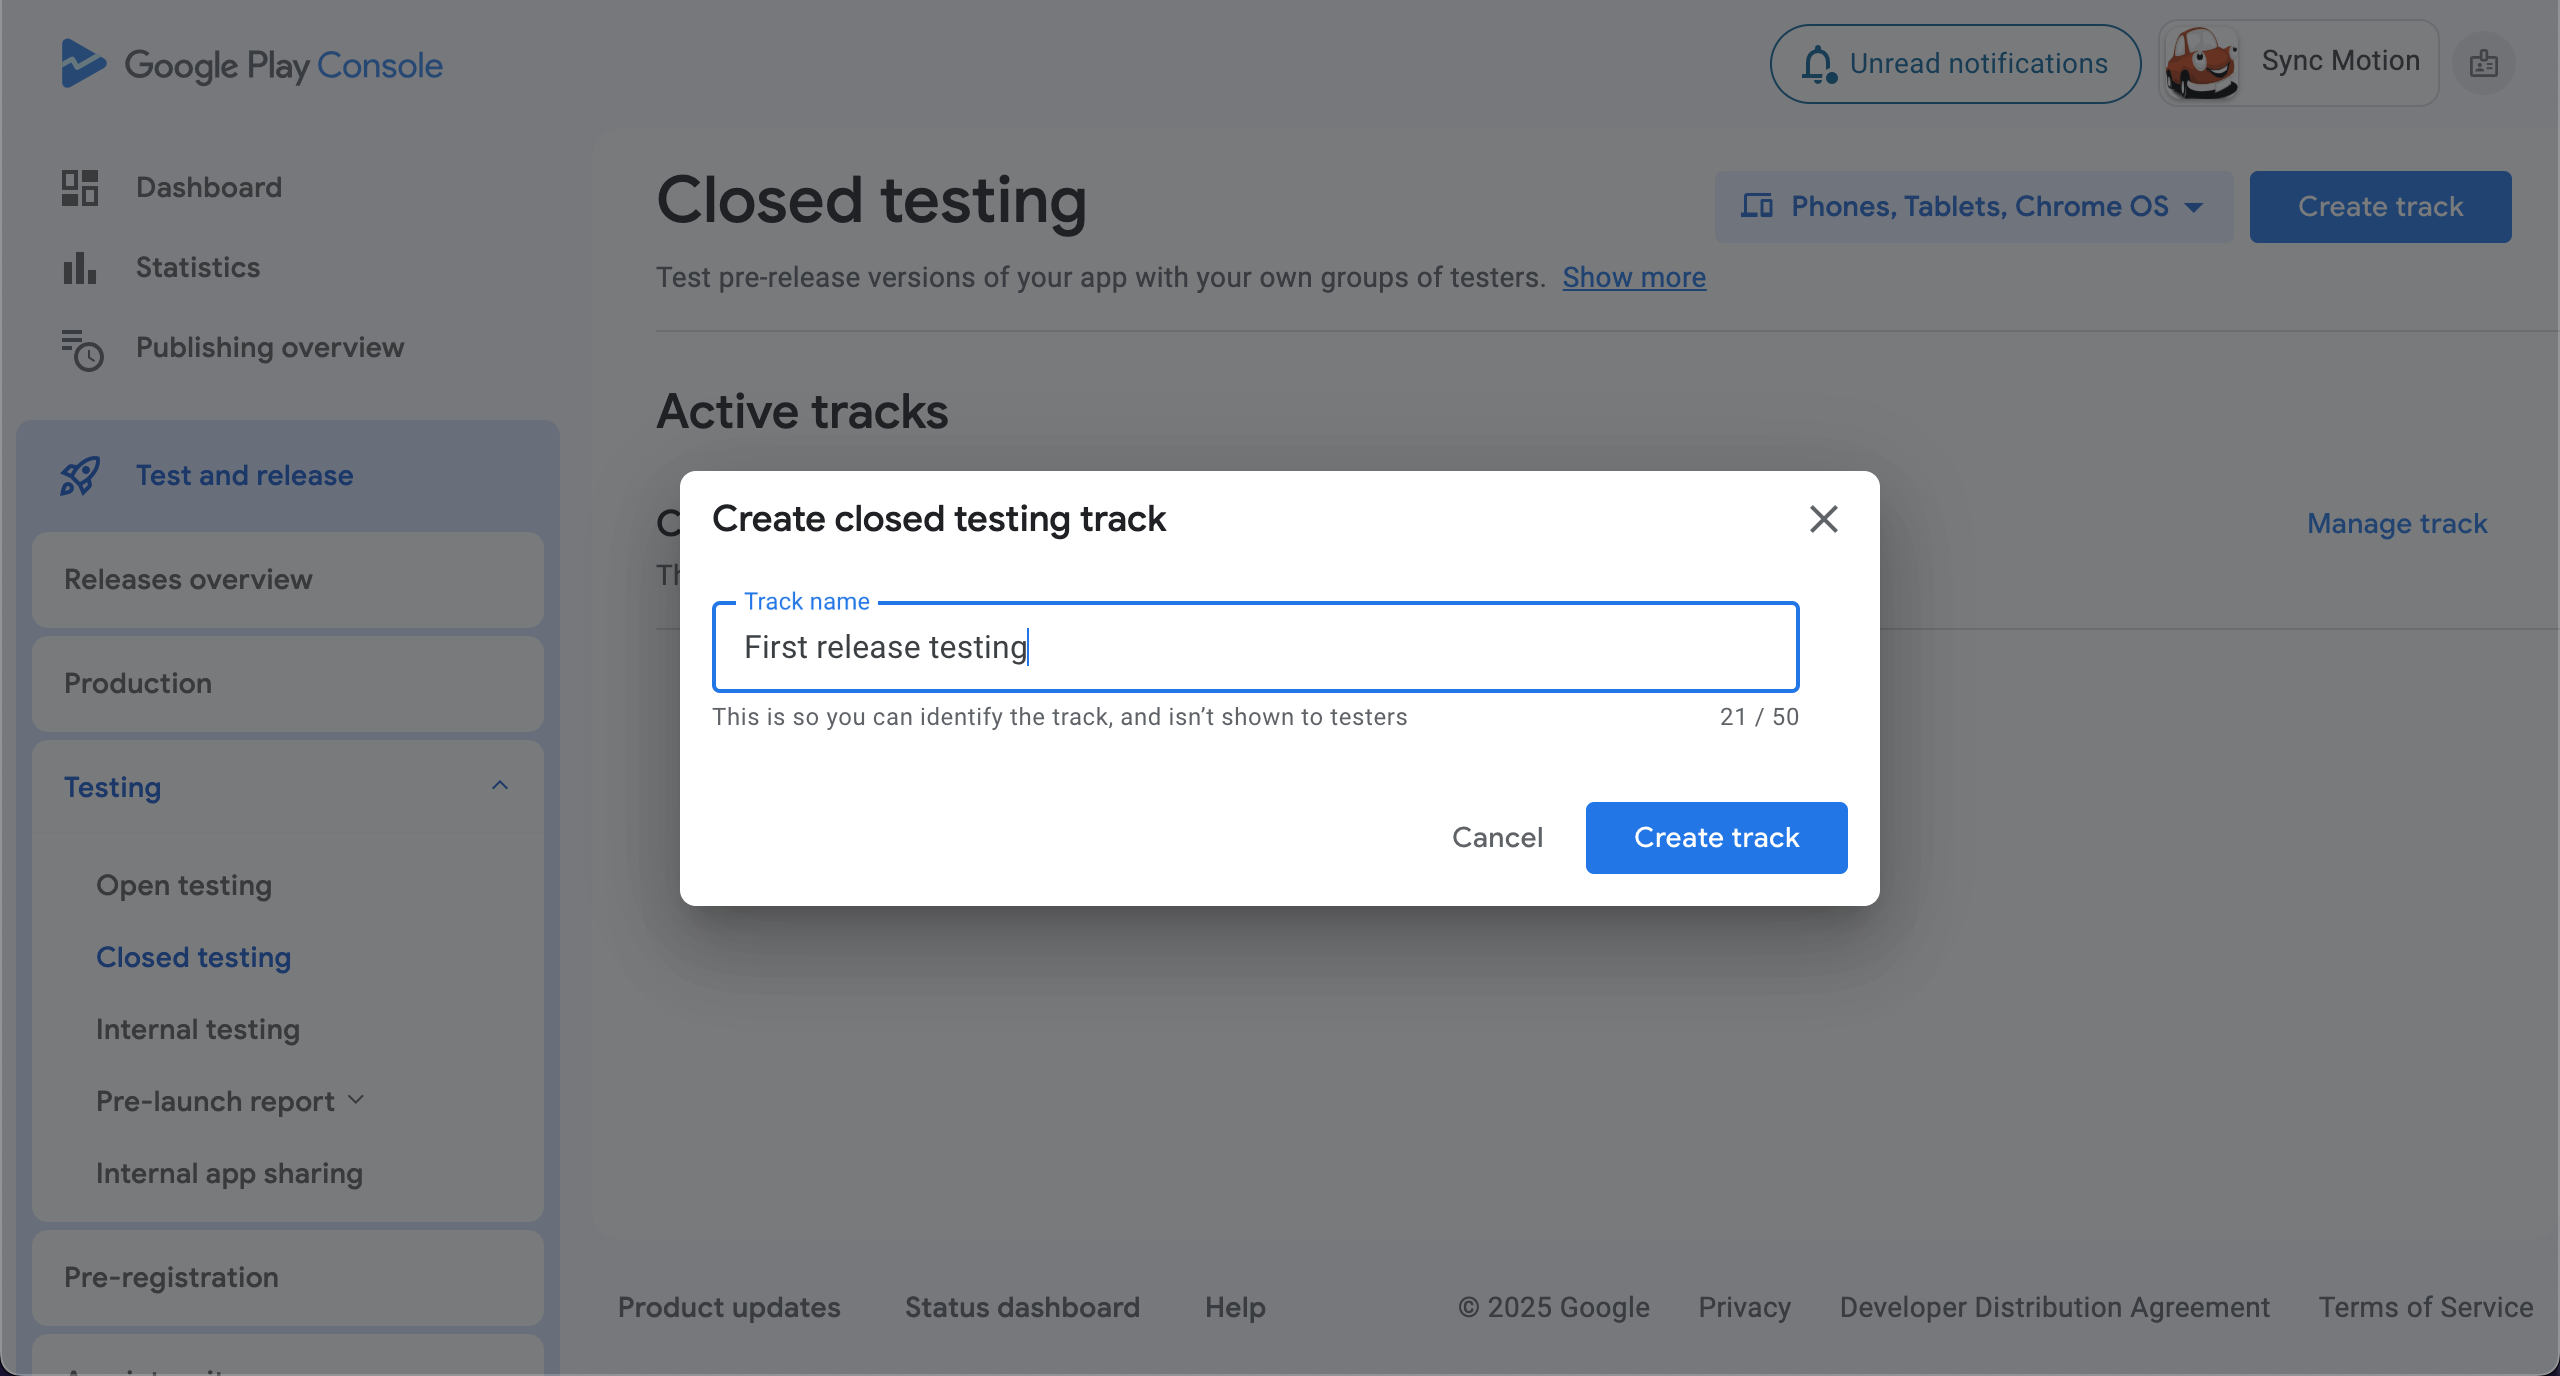
- Give test track a name and click Create track.
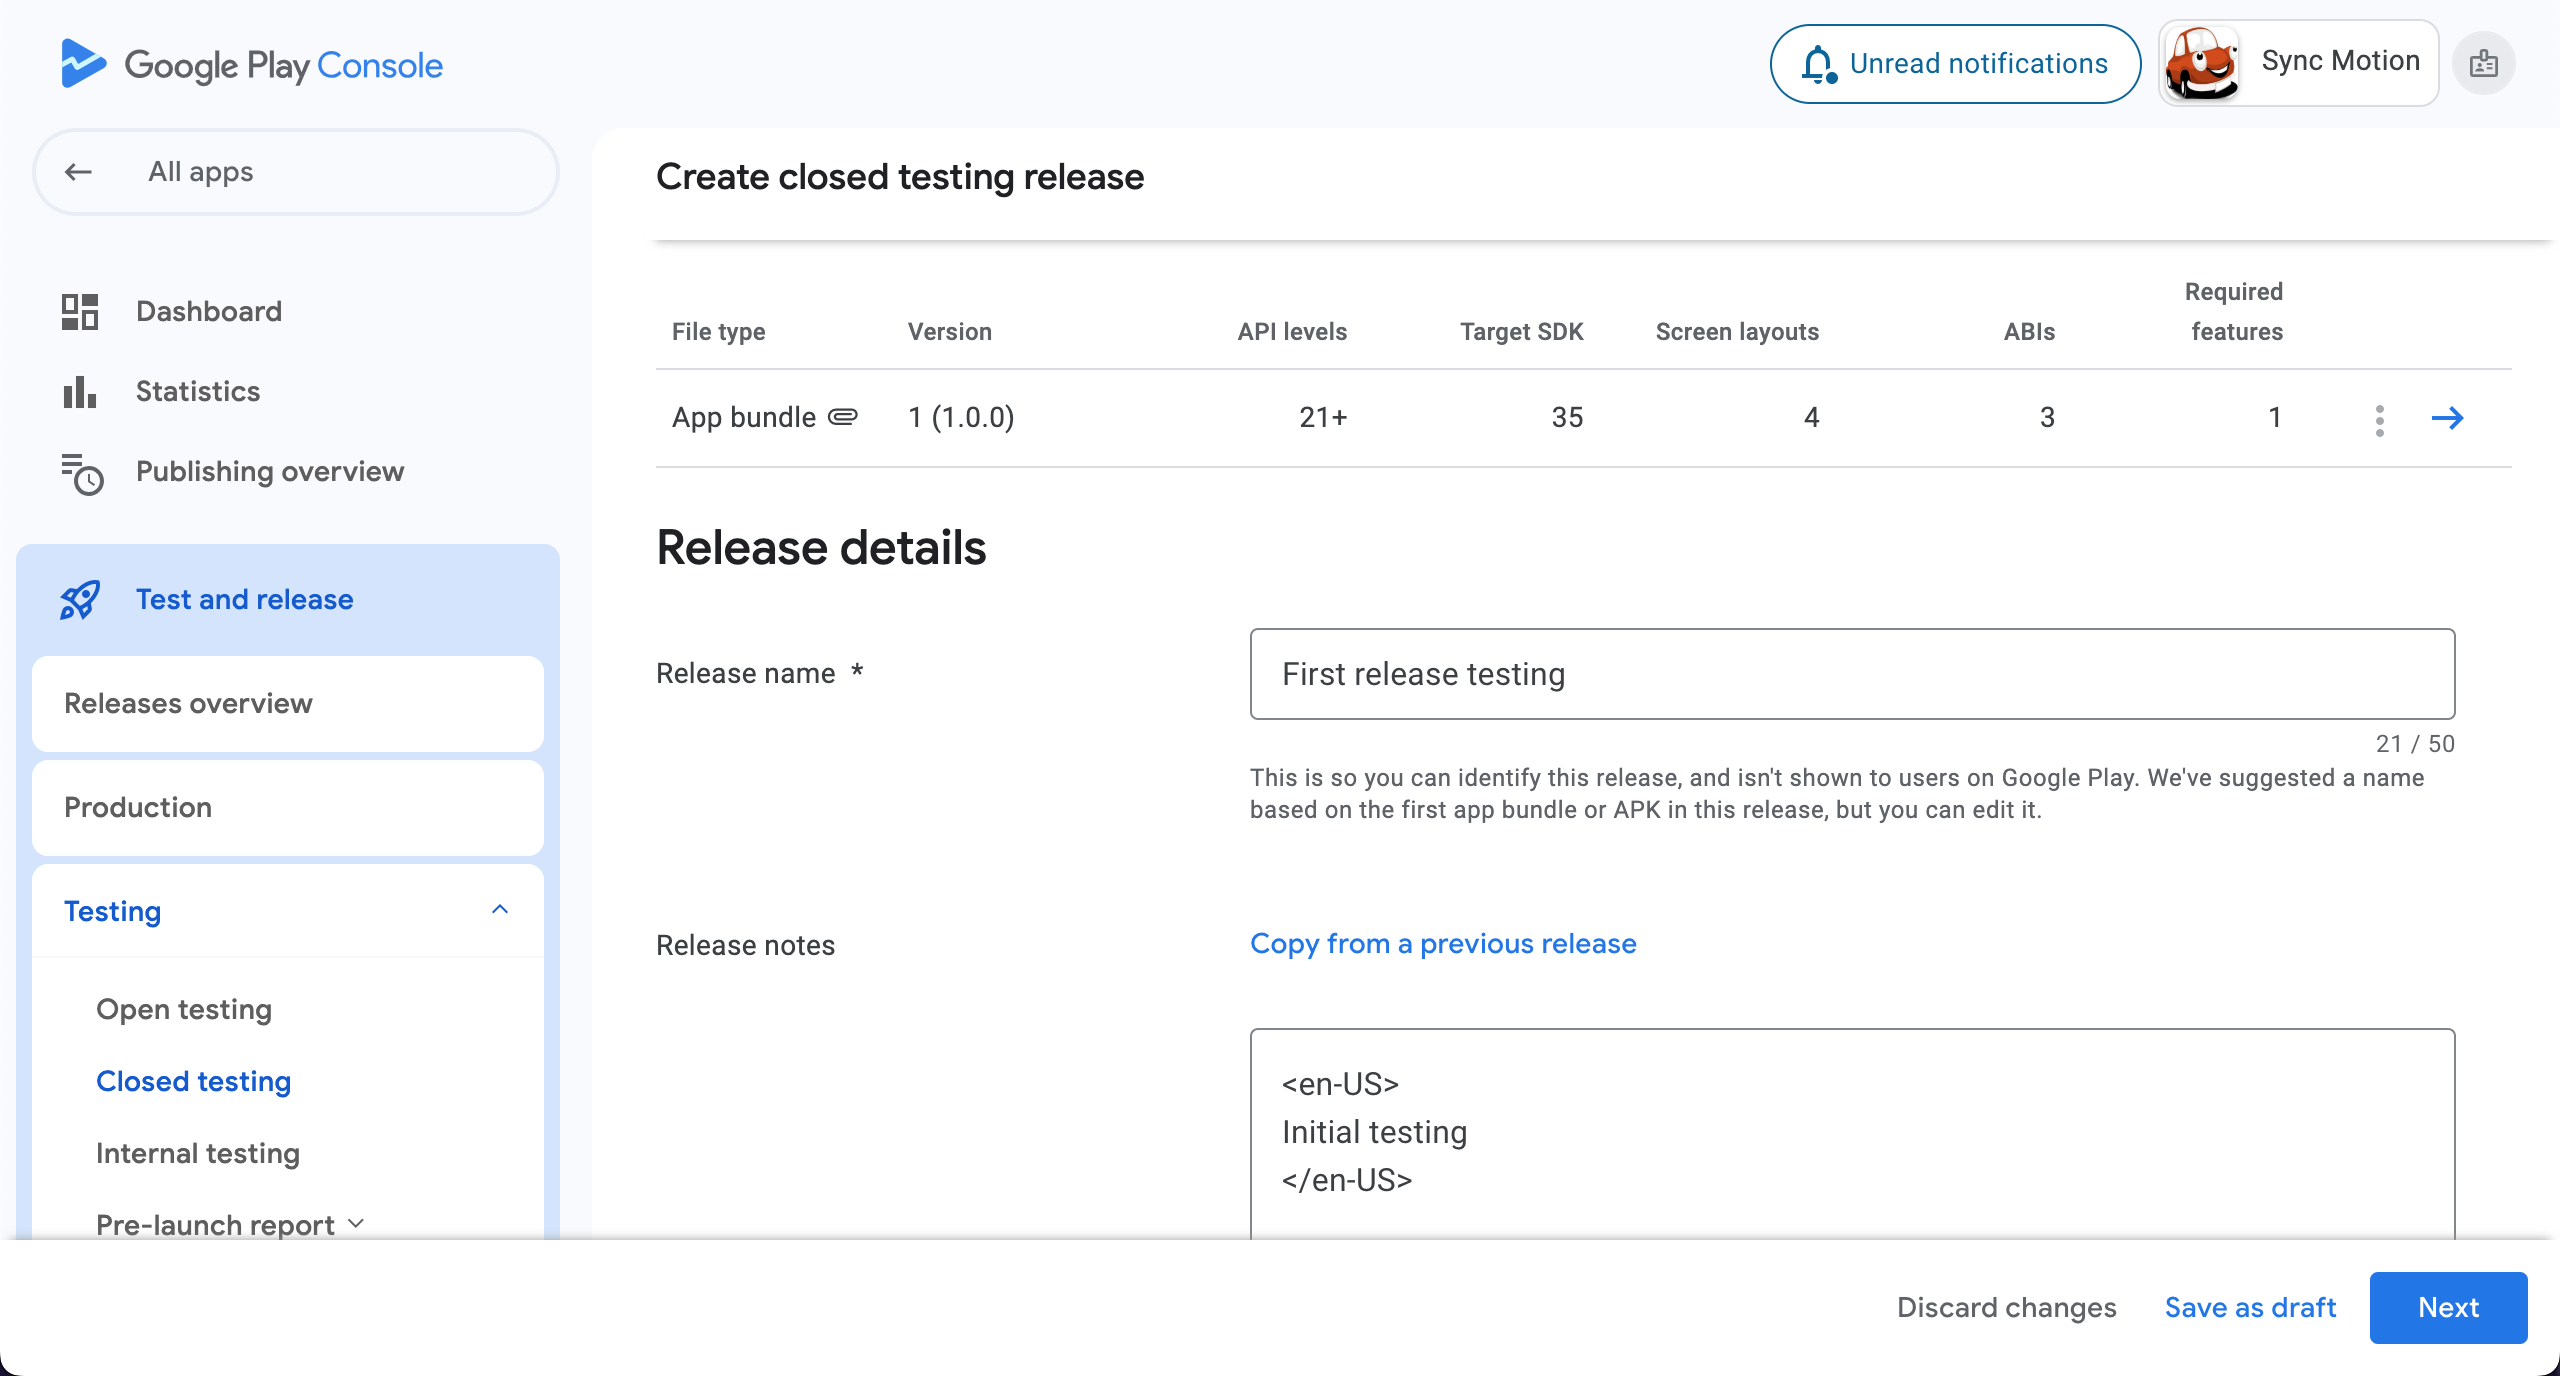
- Now scroll down to Create new release.
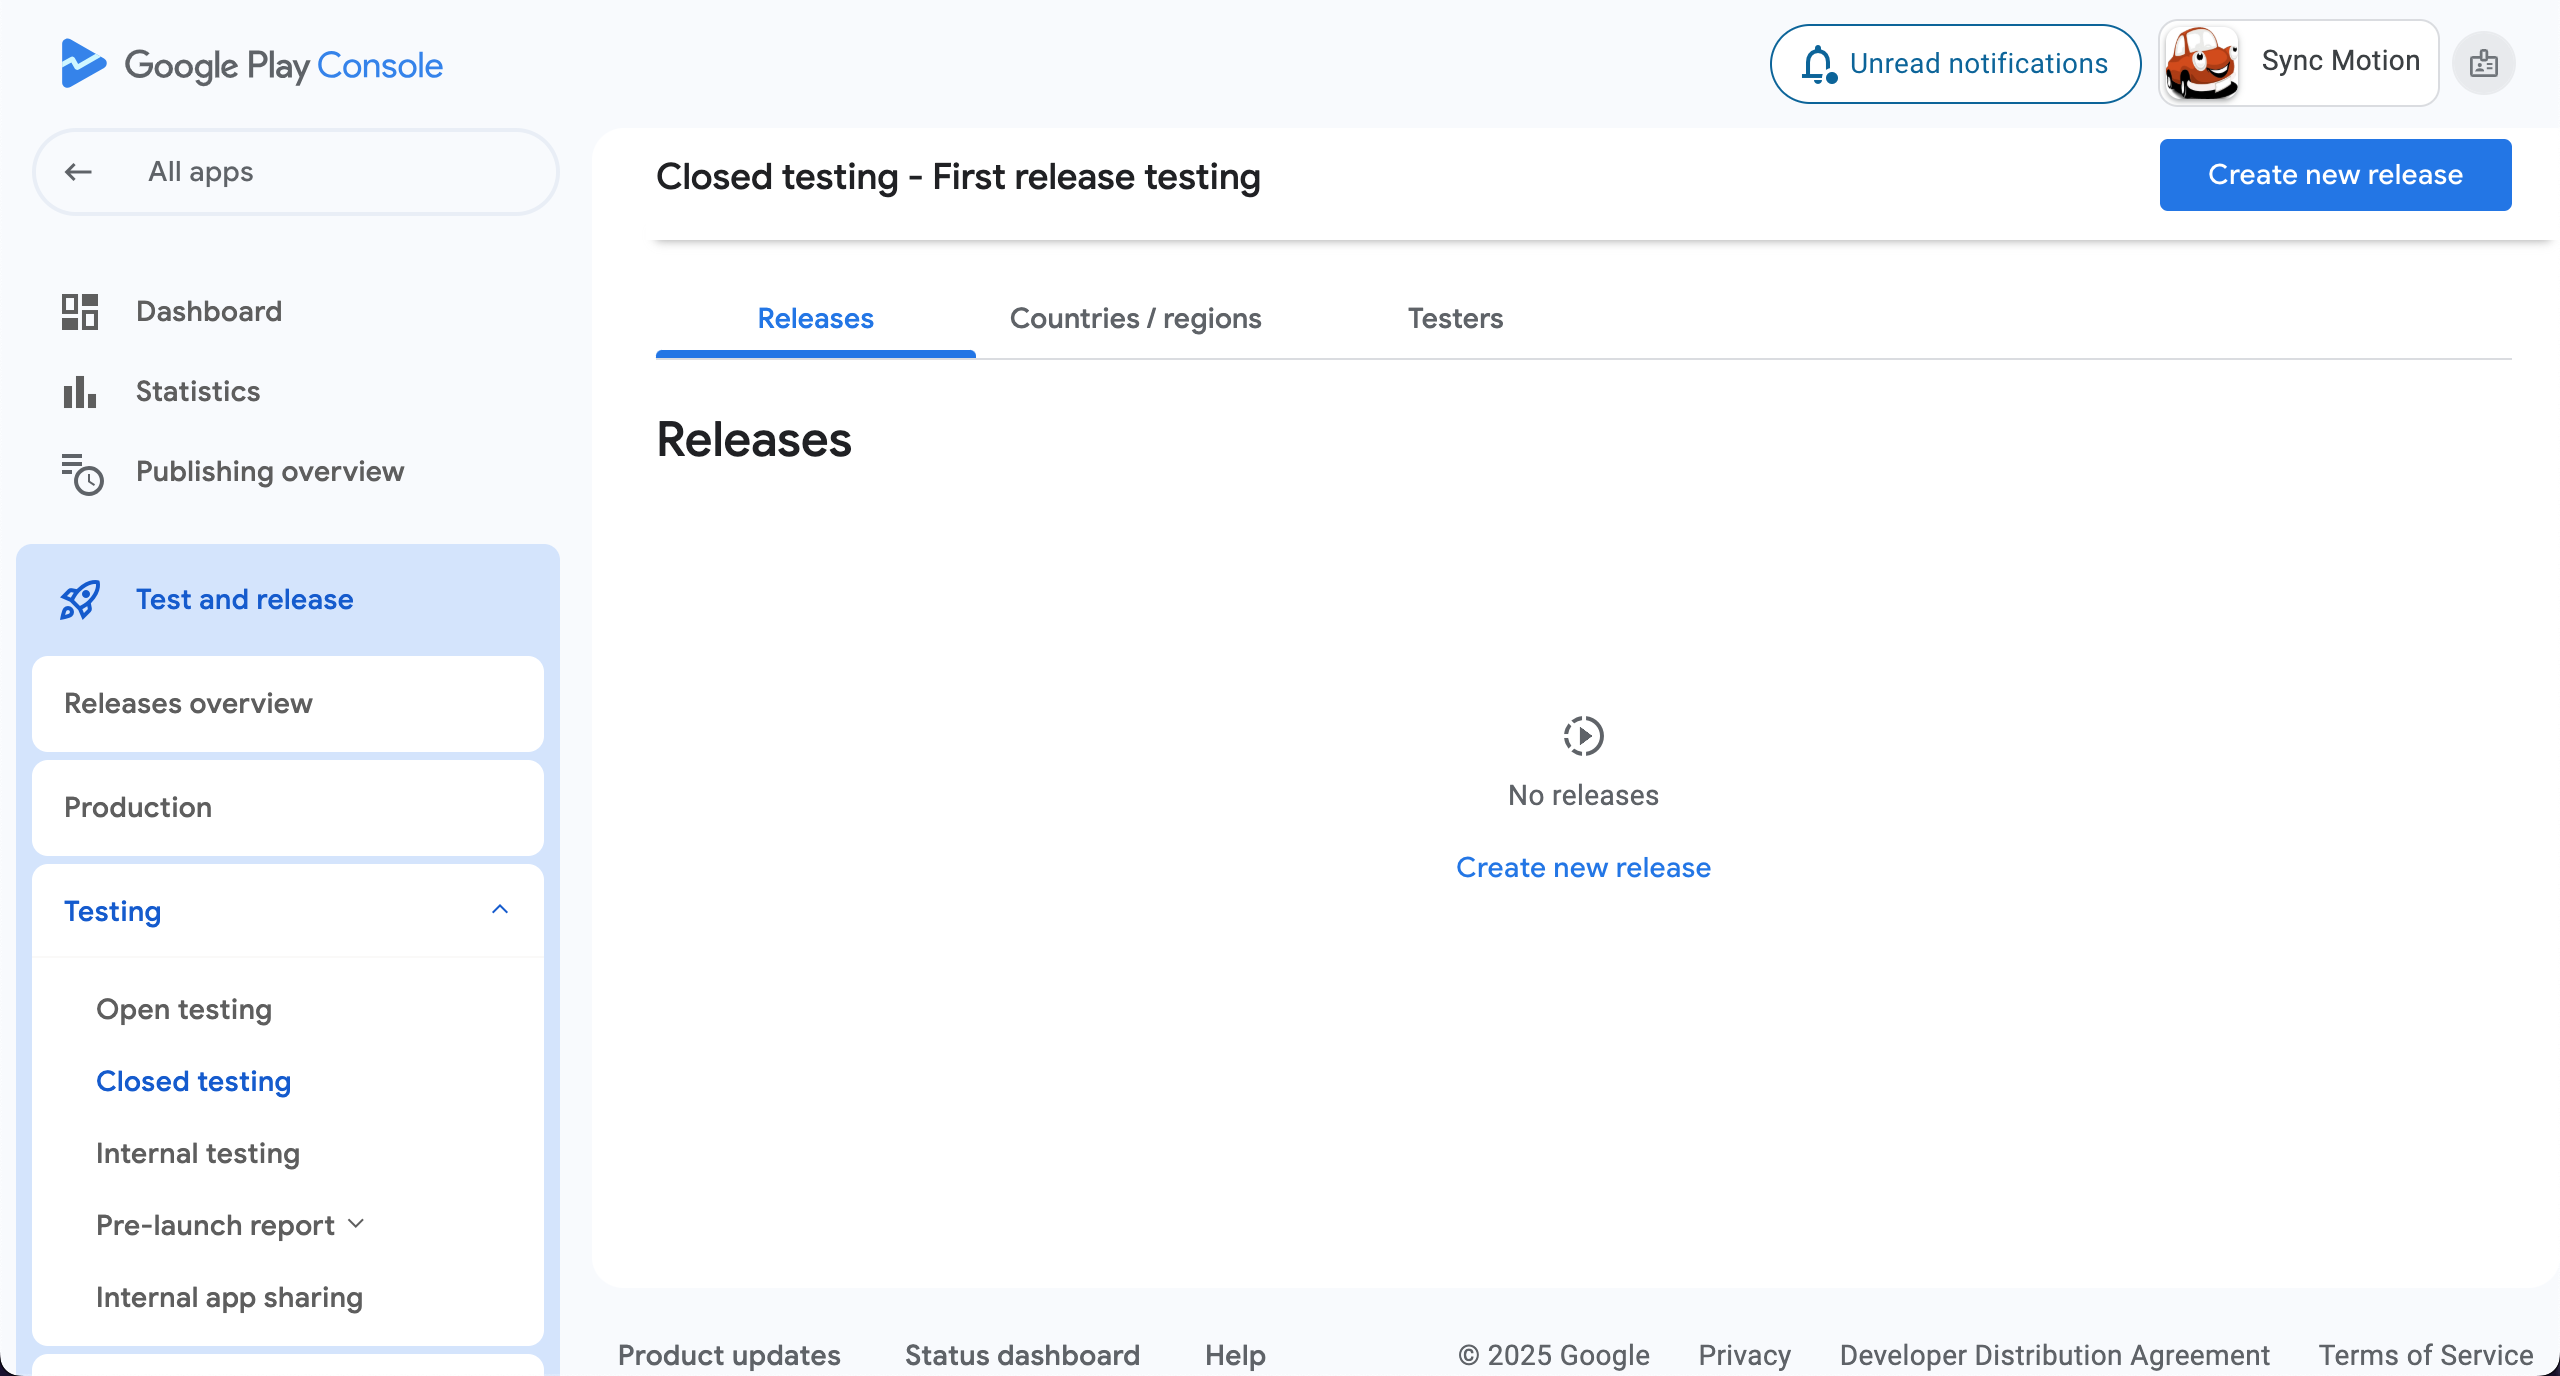
- Add app bundle , release name and release notes
- Click Next to continue.
- Process of creating closed testing is yet not done. You can see the process remained in closed testing section.
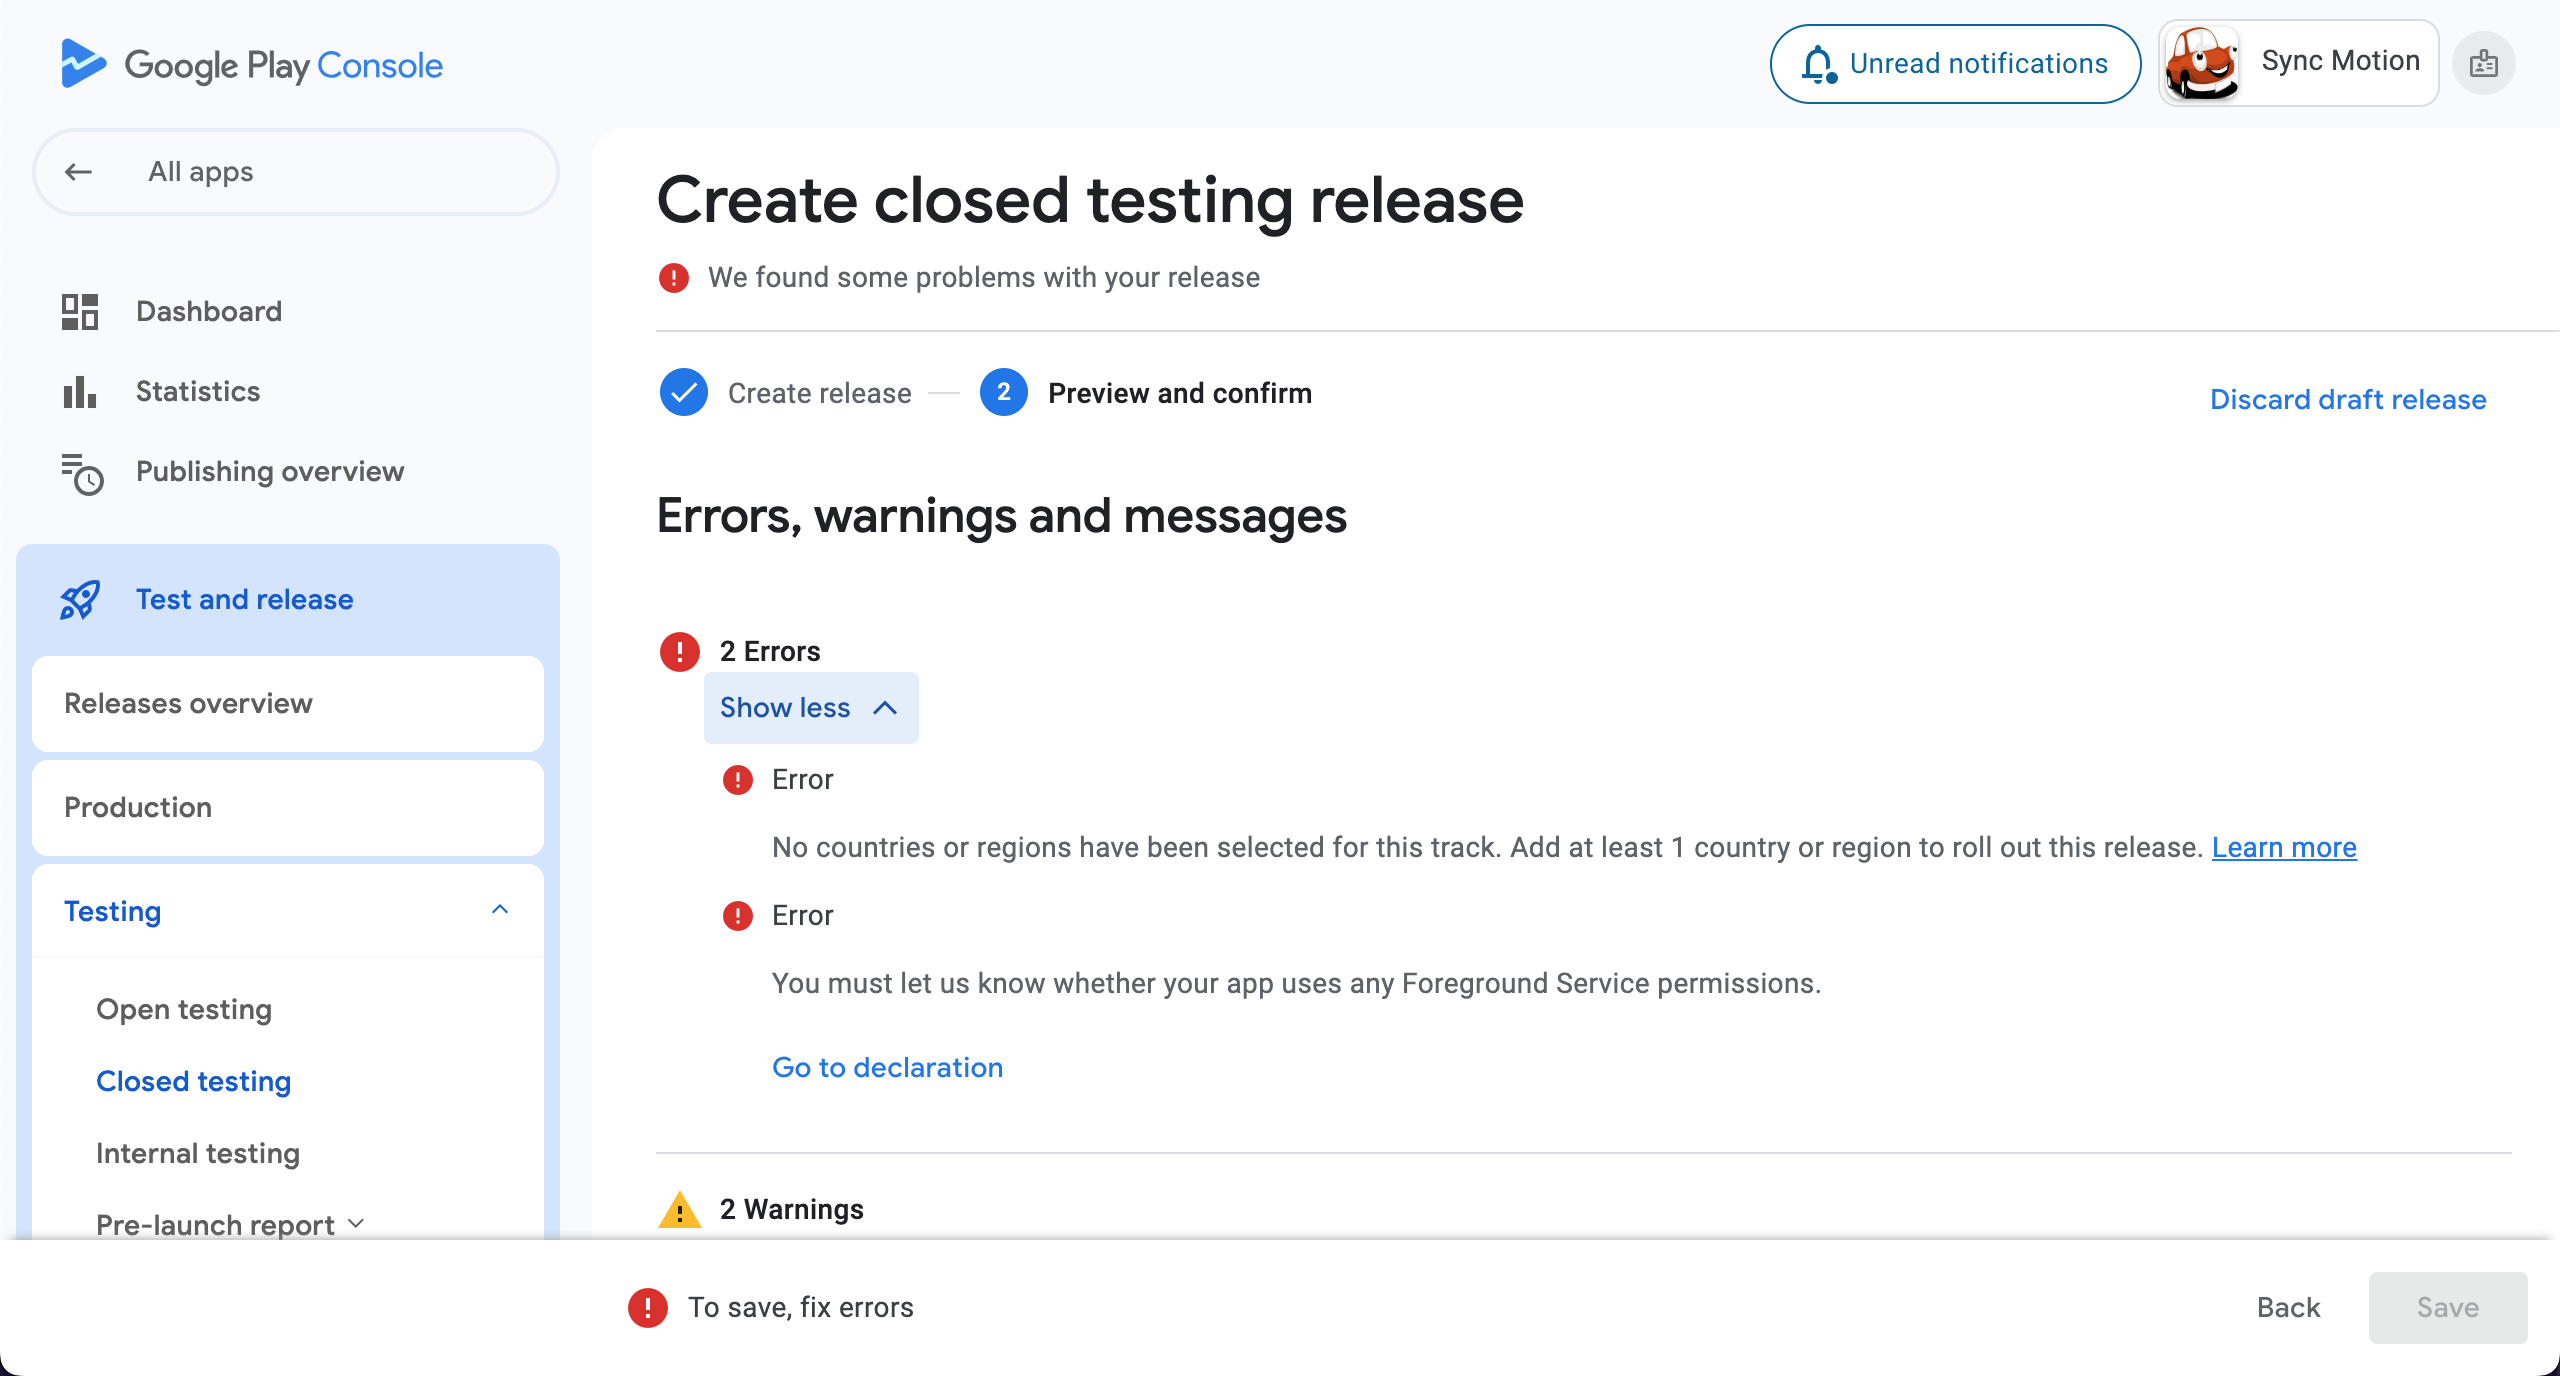
- To solve these errors go to Google Play Console > Test and release > Testing > Closed testing and open the relative testing track by clicking on Manage track.
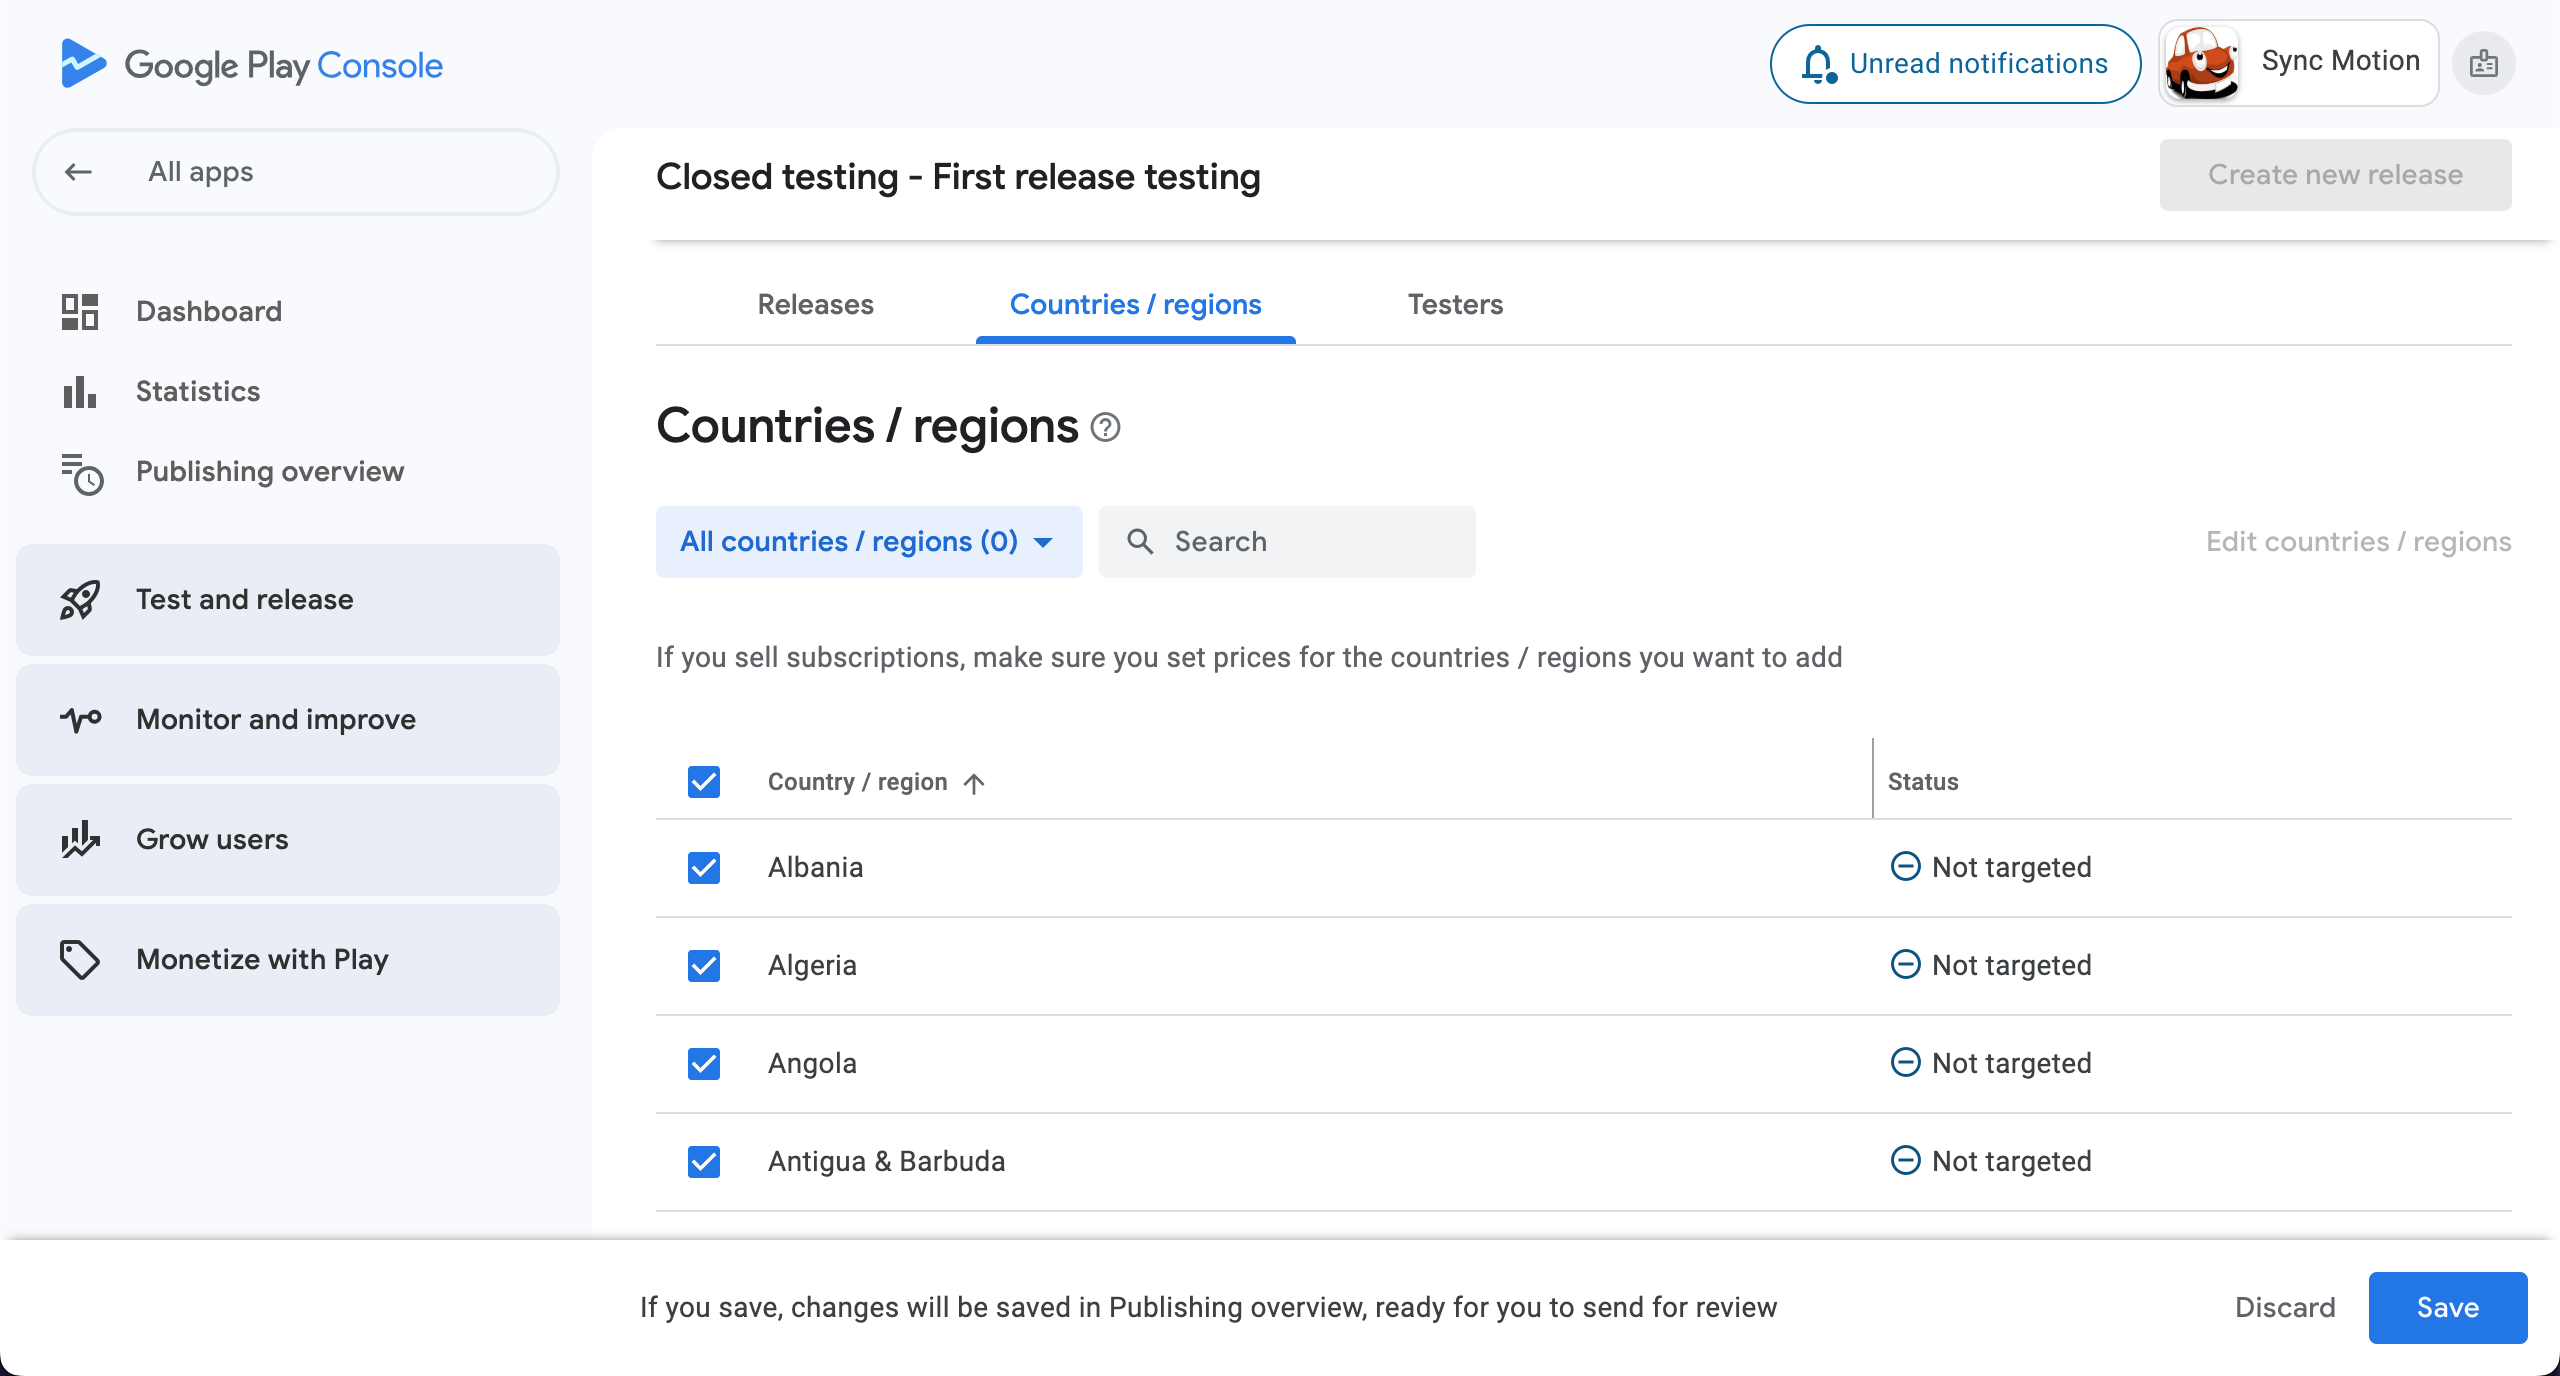
- Go to Countries/ regions section , select countries and hit Save.
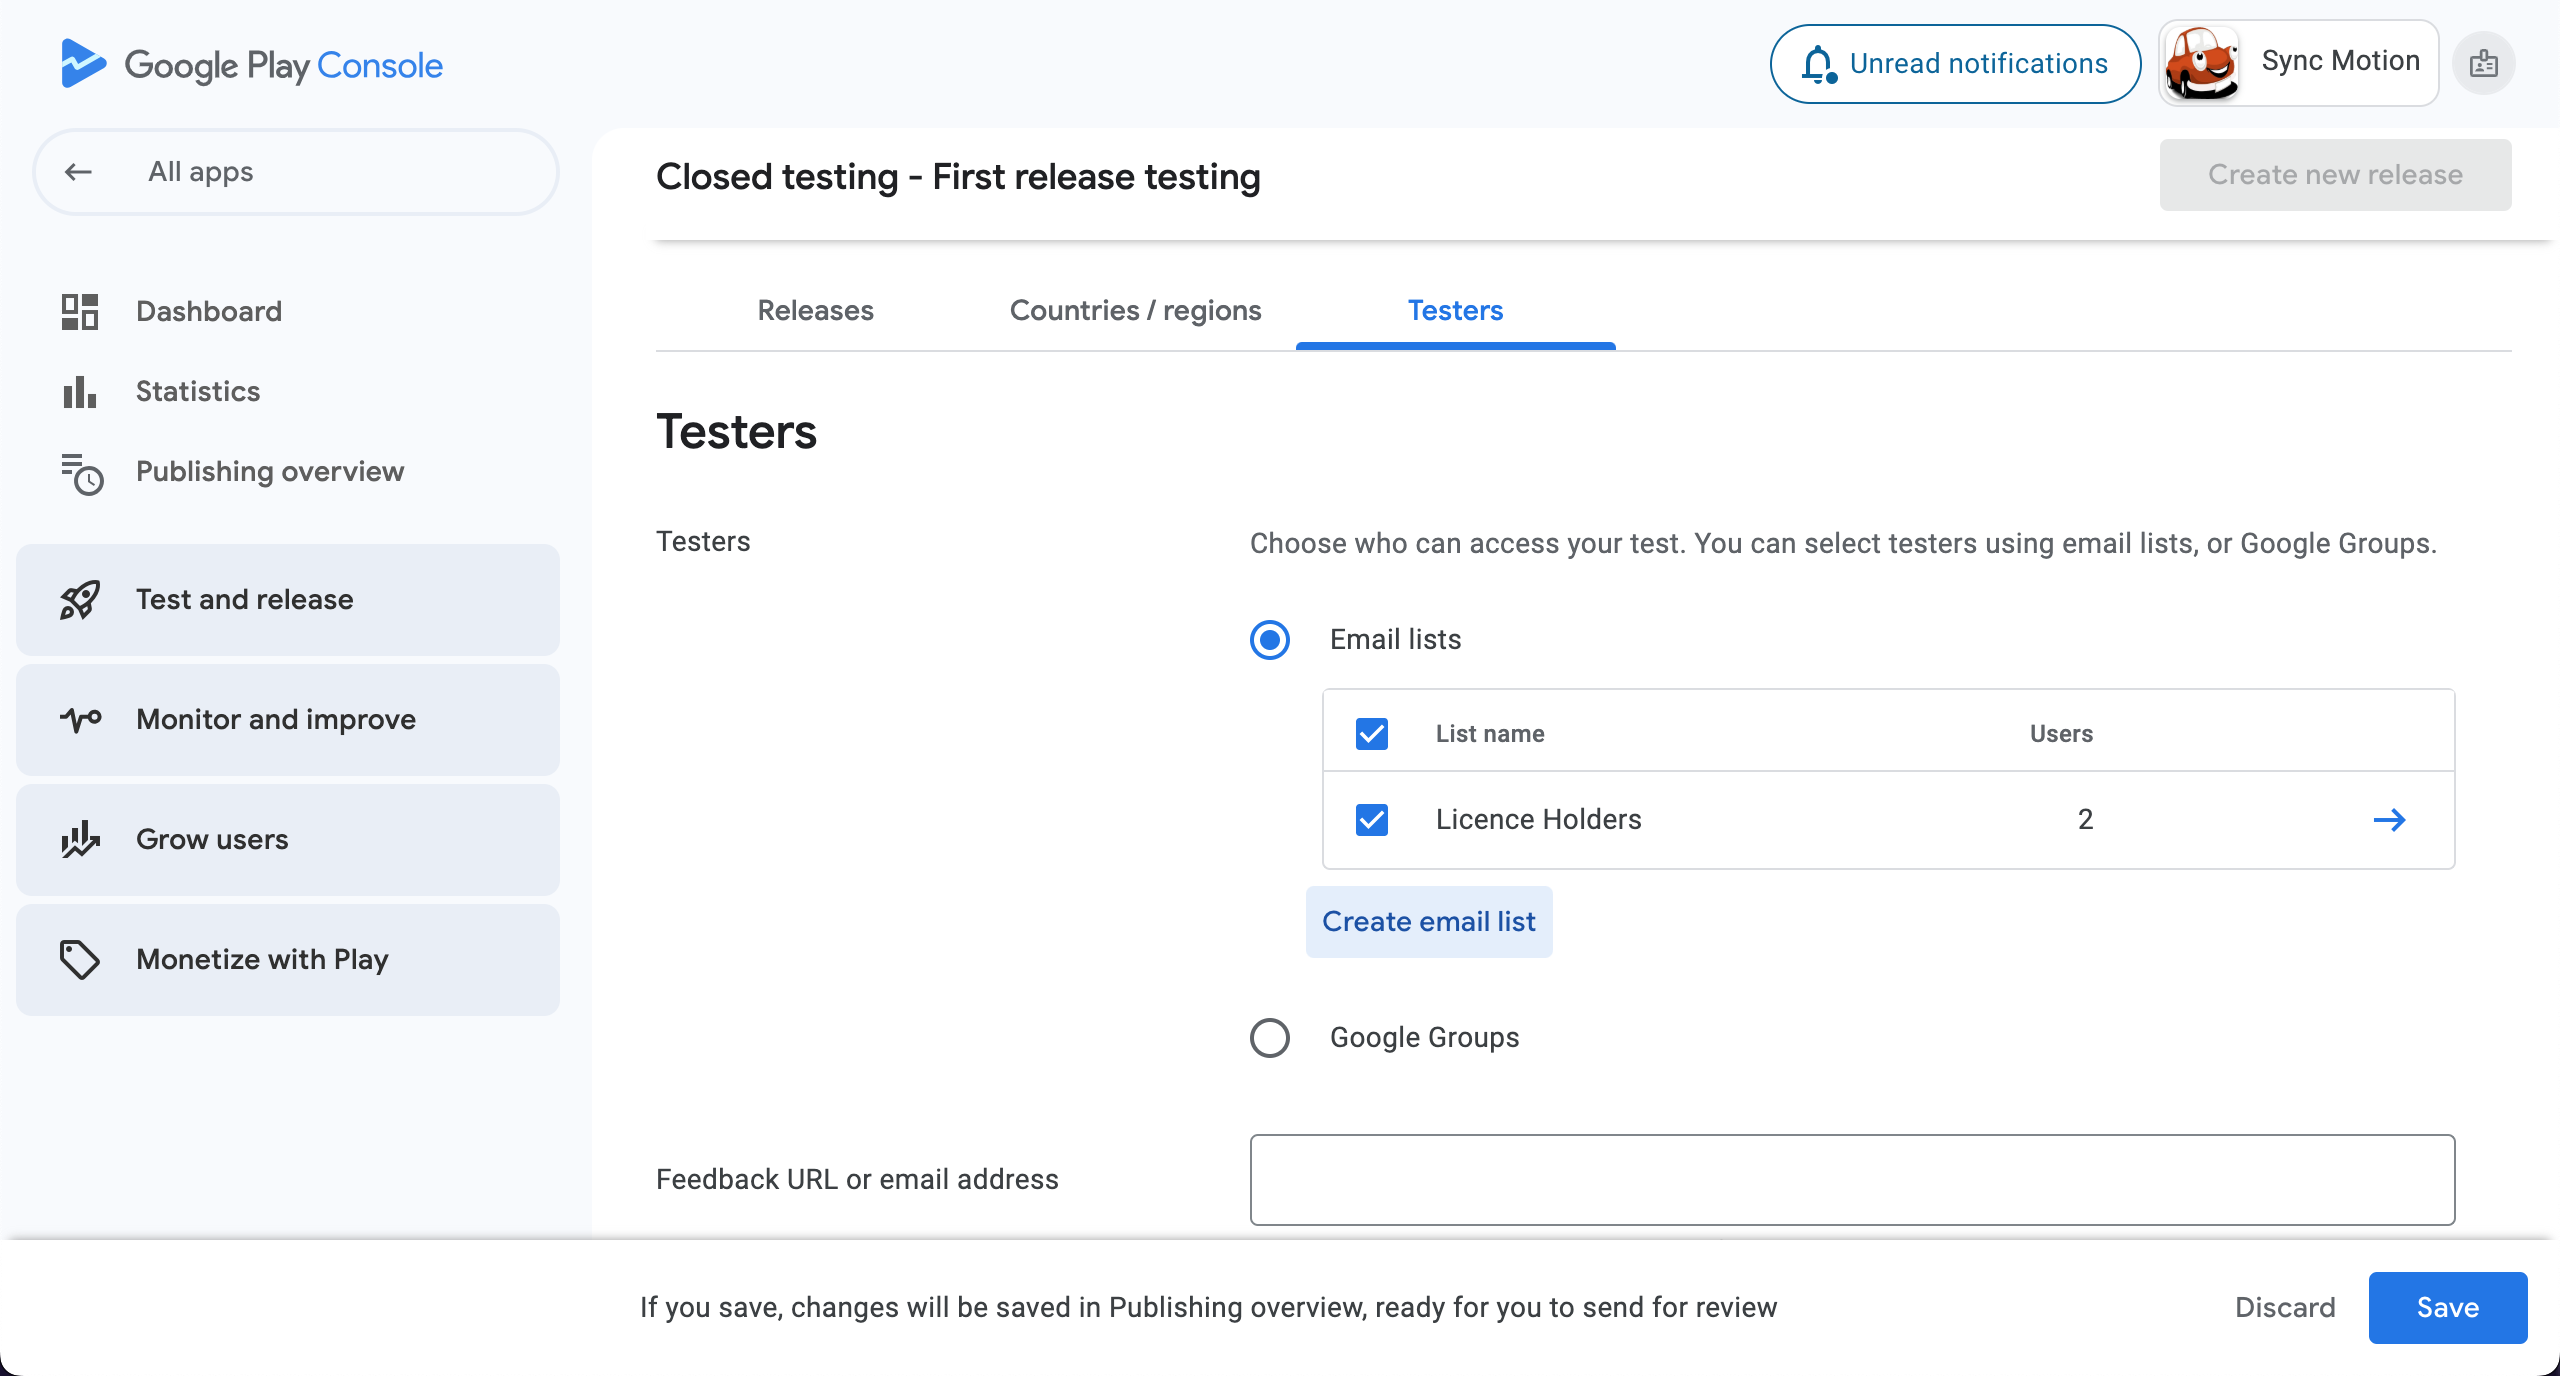
- Now go to Testers section and choose the list of tests if added.
- If you have not created testers list earlier you can create one by clicking on Create email list.
- You can provide feedback URL or email for testers to provide feedbacks.
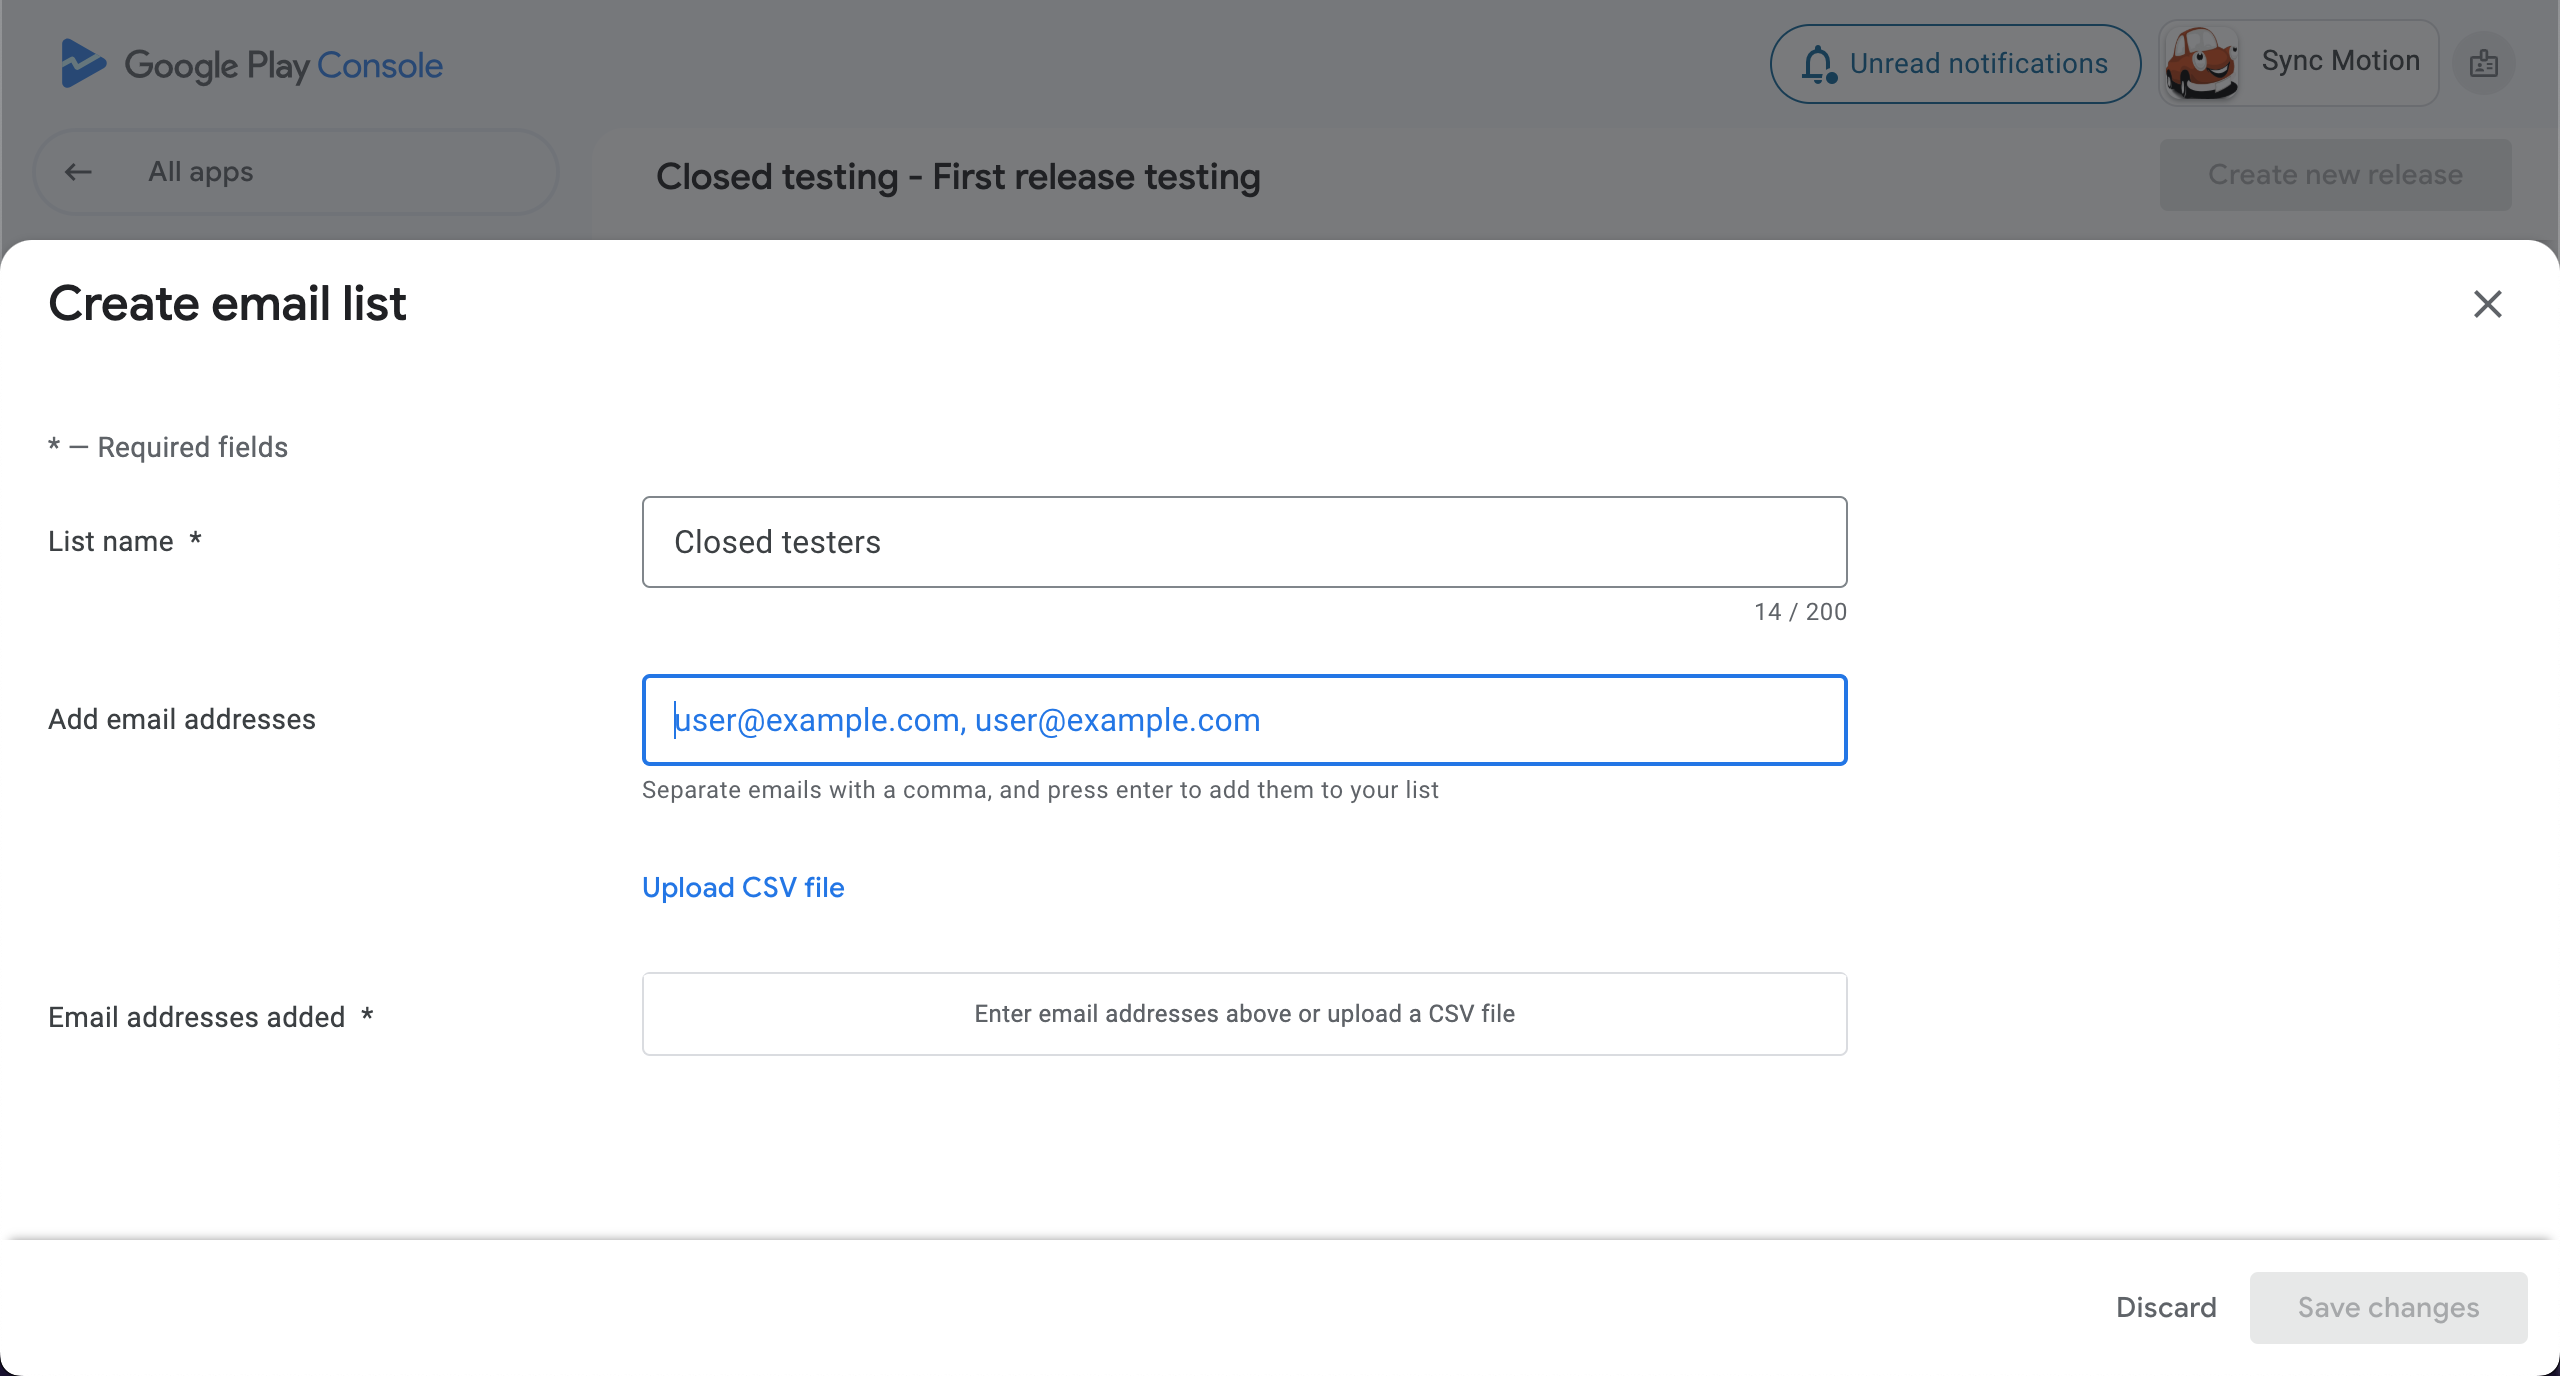
- Add List name.
- Add email addresses you want to add the list and hit Enter to confirm.
- Click on Save changes to create list.
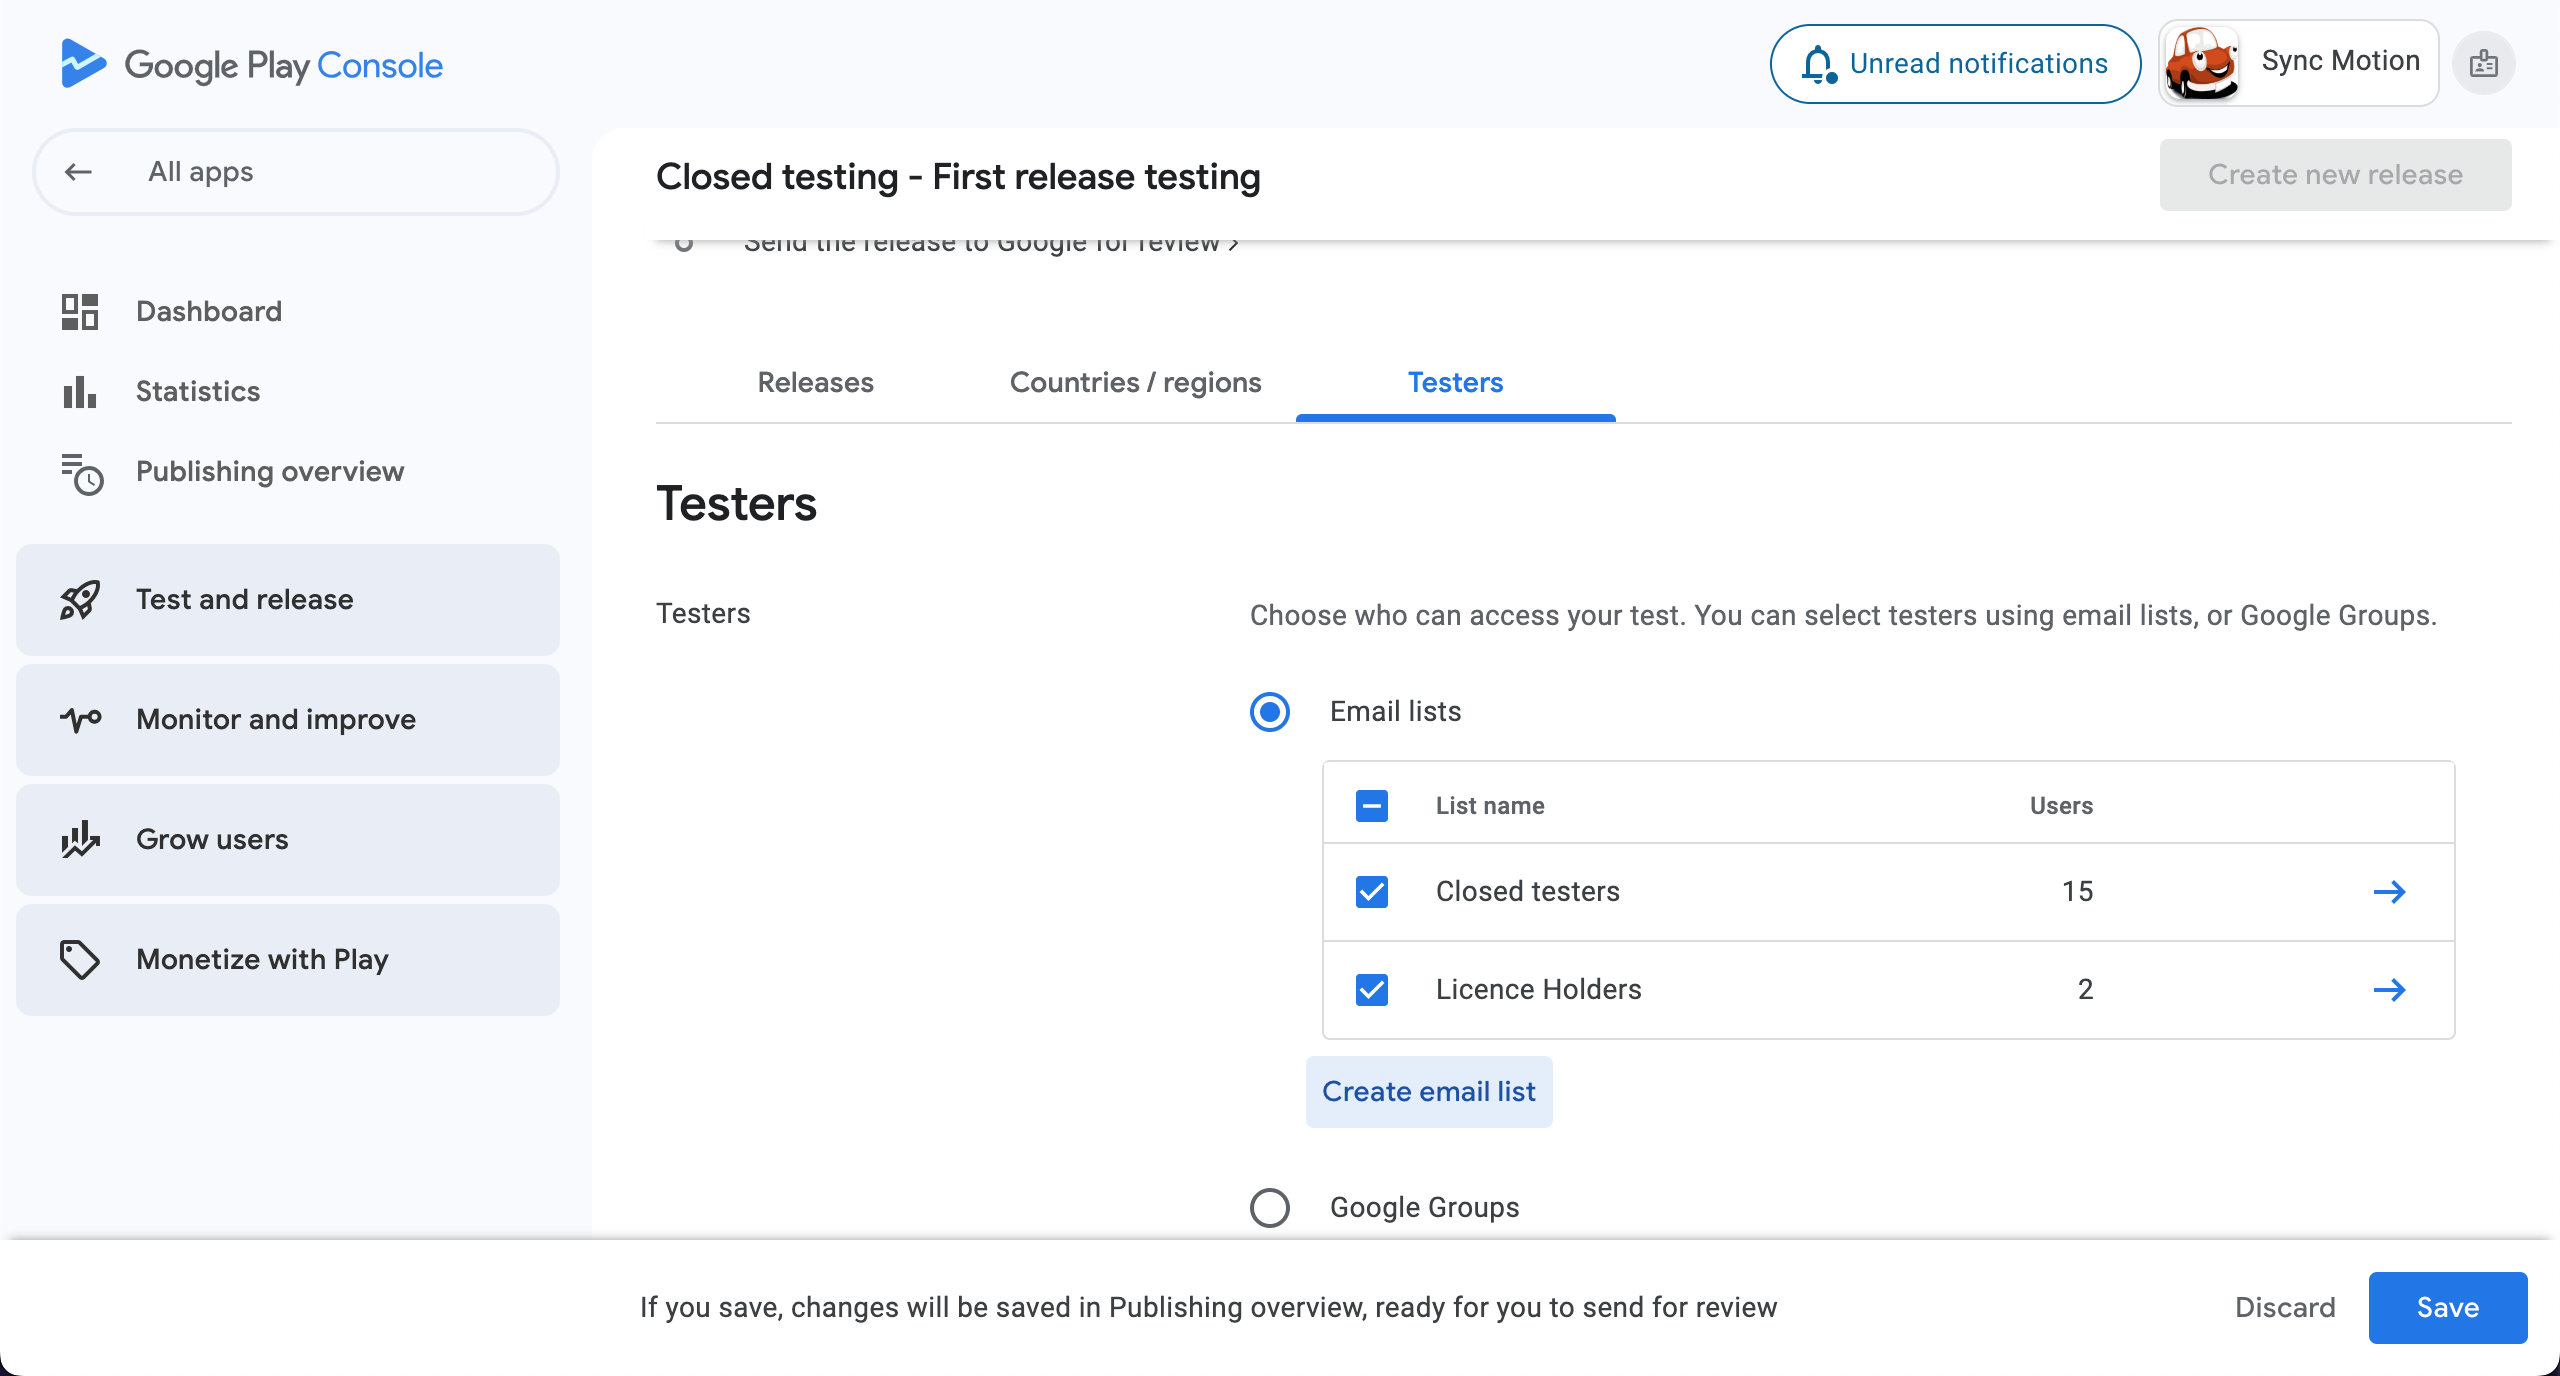
- Now you will be shown the list you have created.
- Select the list to add testers group.
- Click on Save to finalise the changes.
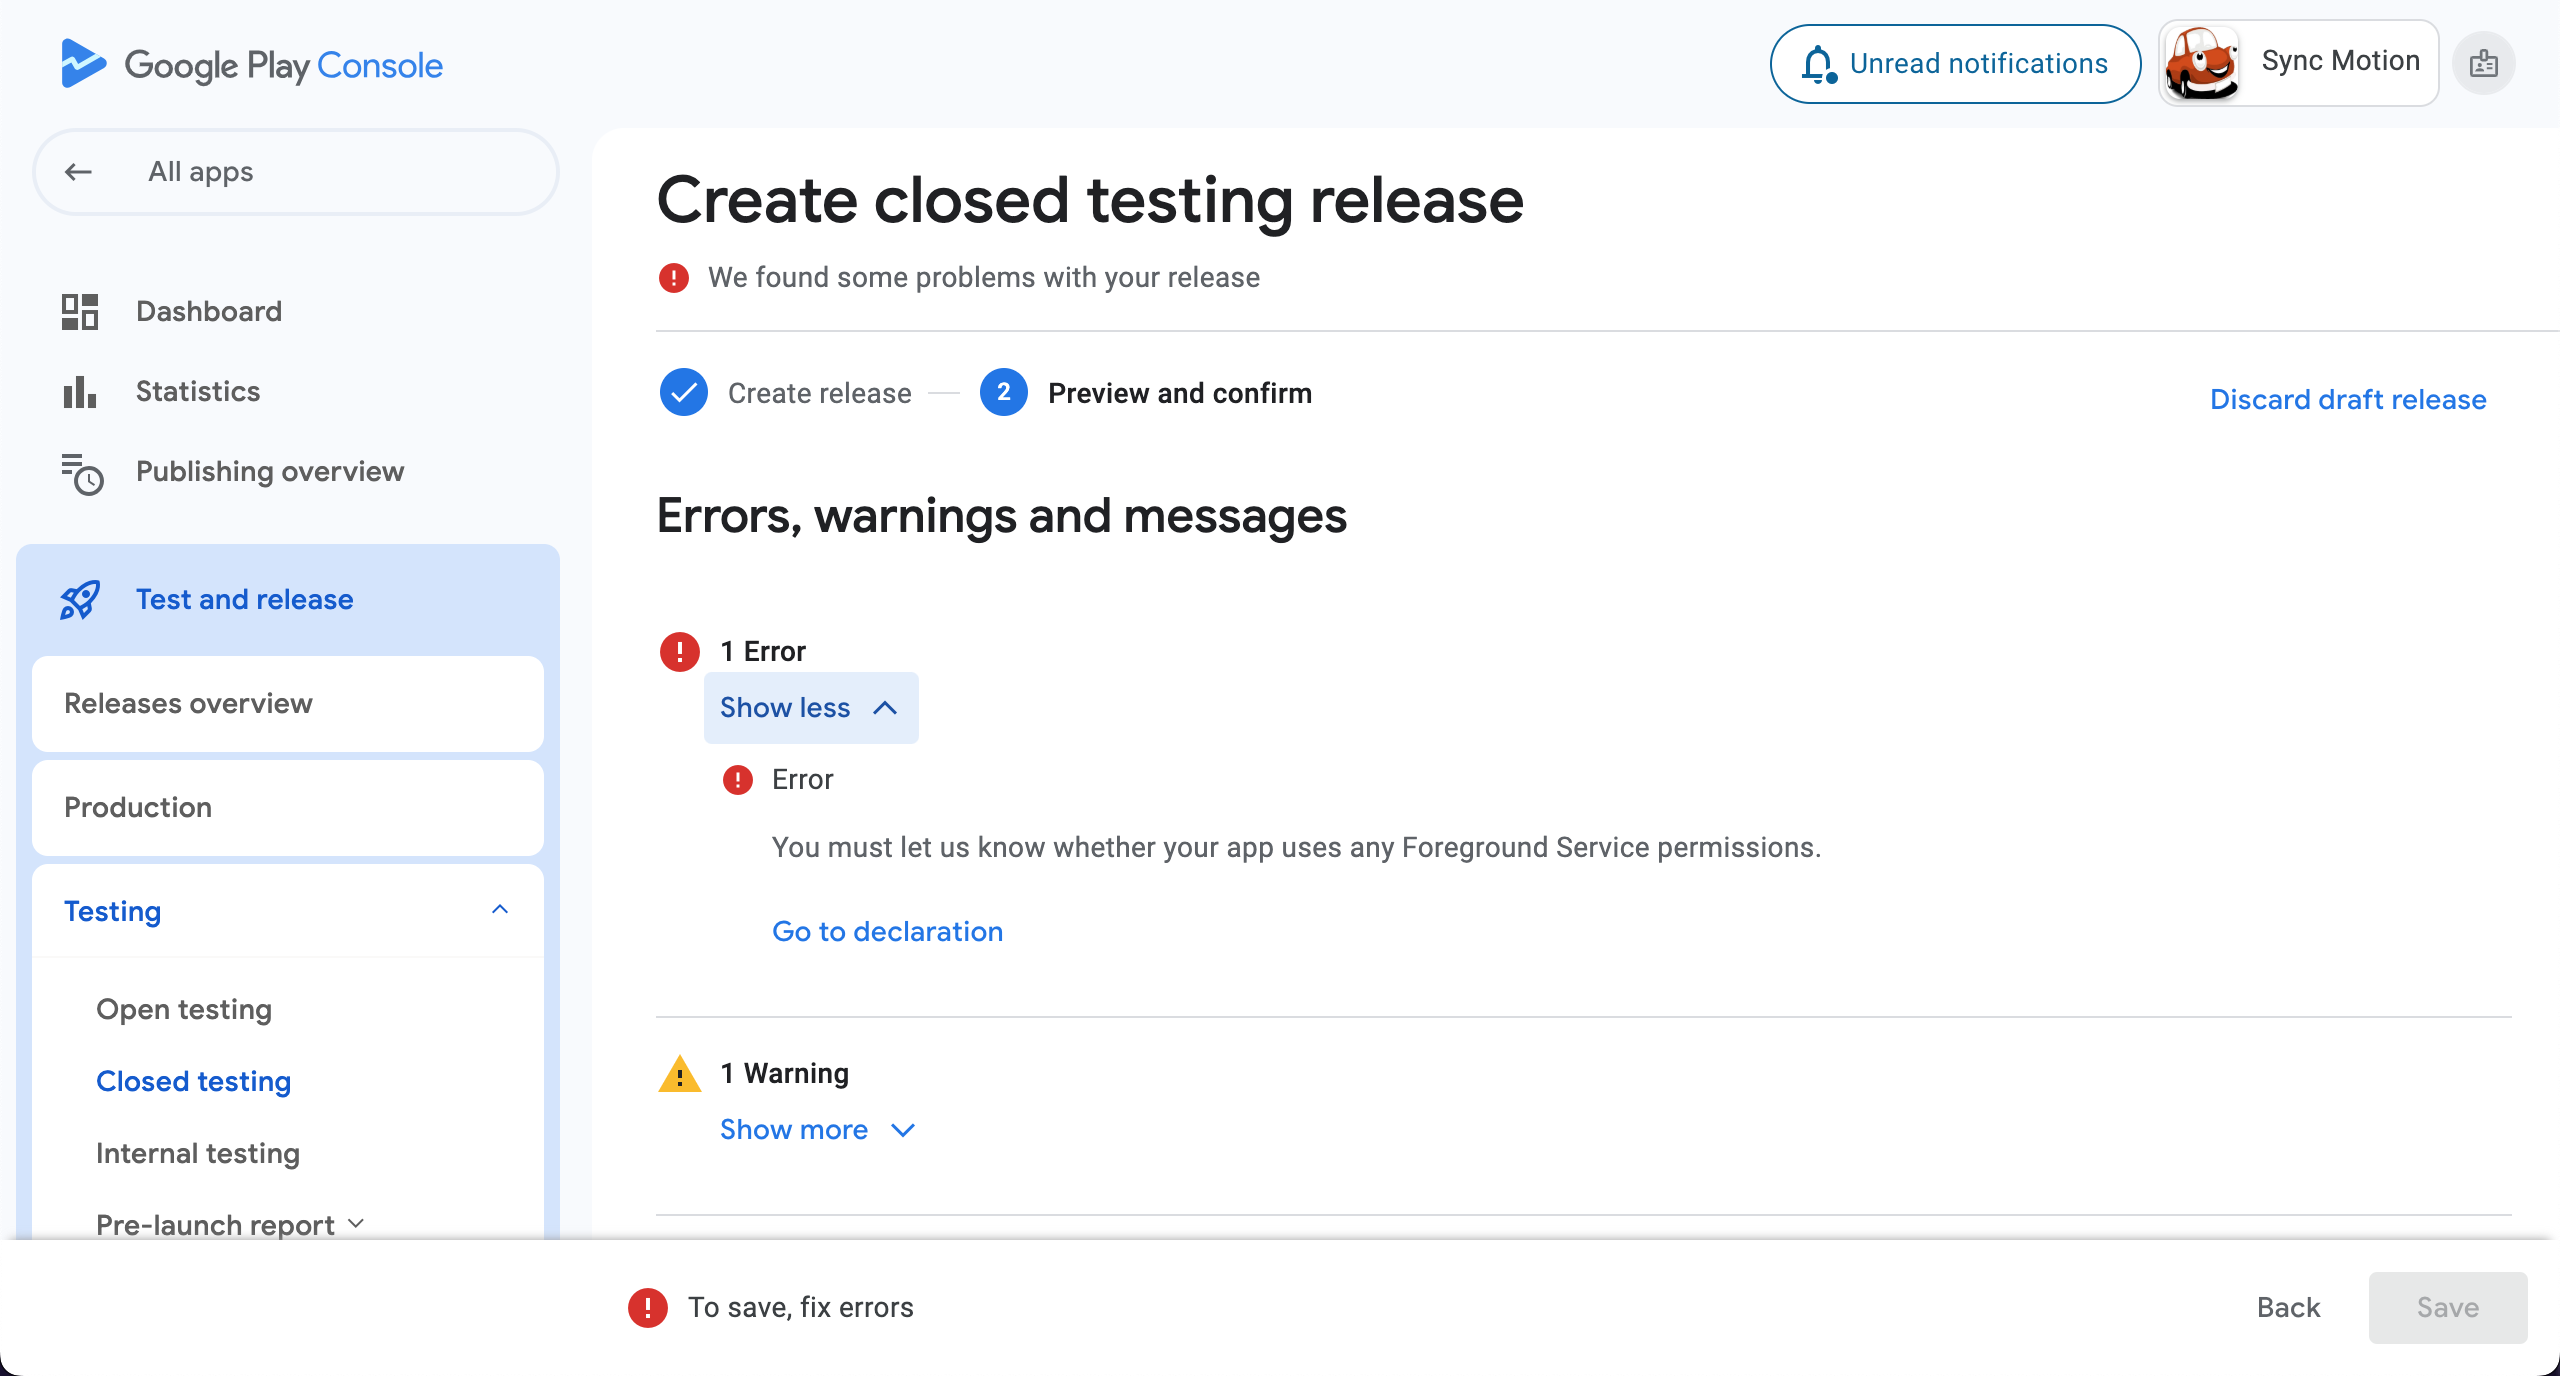
danger
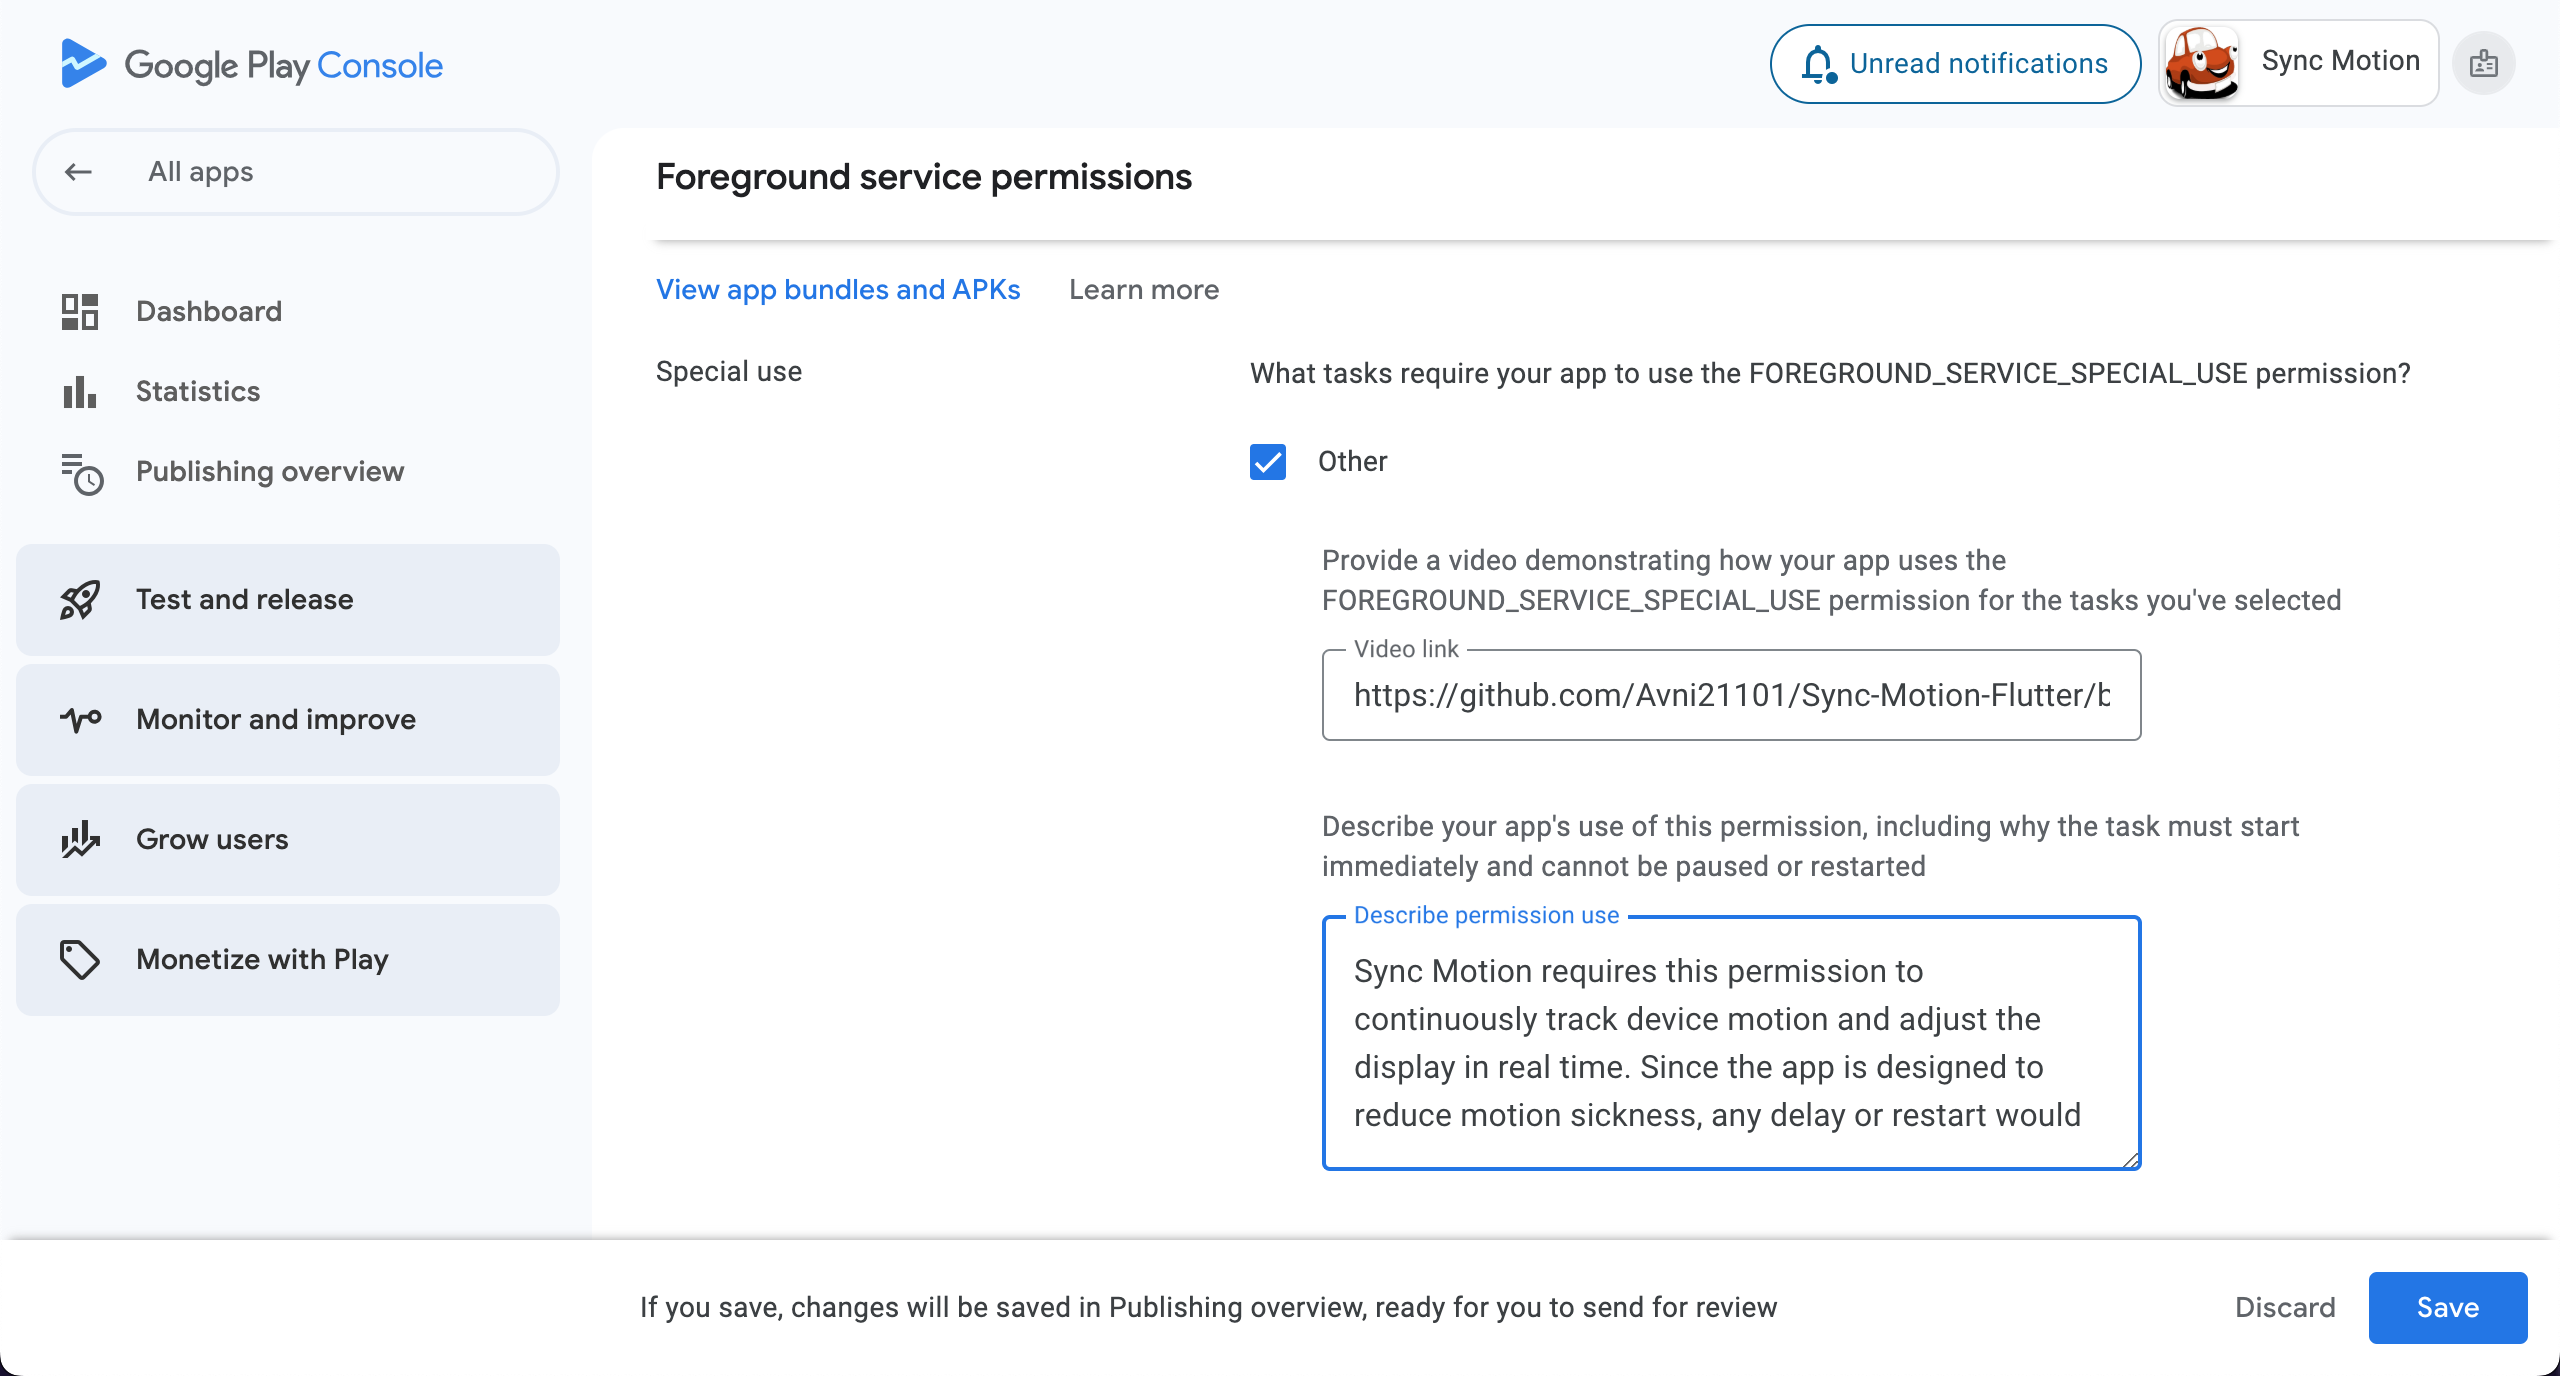
- In my case I am using flutter_overlay_window which takes permission to show app content over every application. That’s why I am showing this error that I have to justify why this application needs certain permission.
- To solve this I tapped on go to declaration to complete process.
- Then I provided the video which I hosted on GitHub and added description about why this application is using Foreground services.
- Next I saved the updates and closed testing was generated successfully.
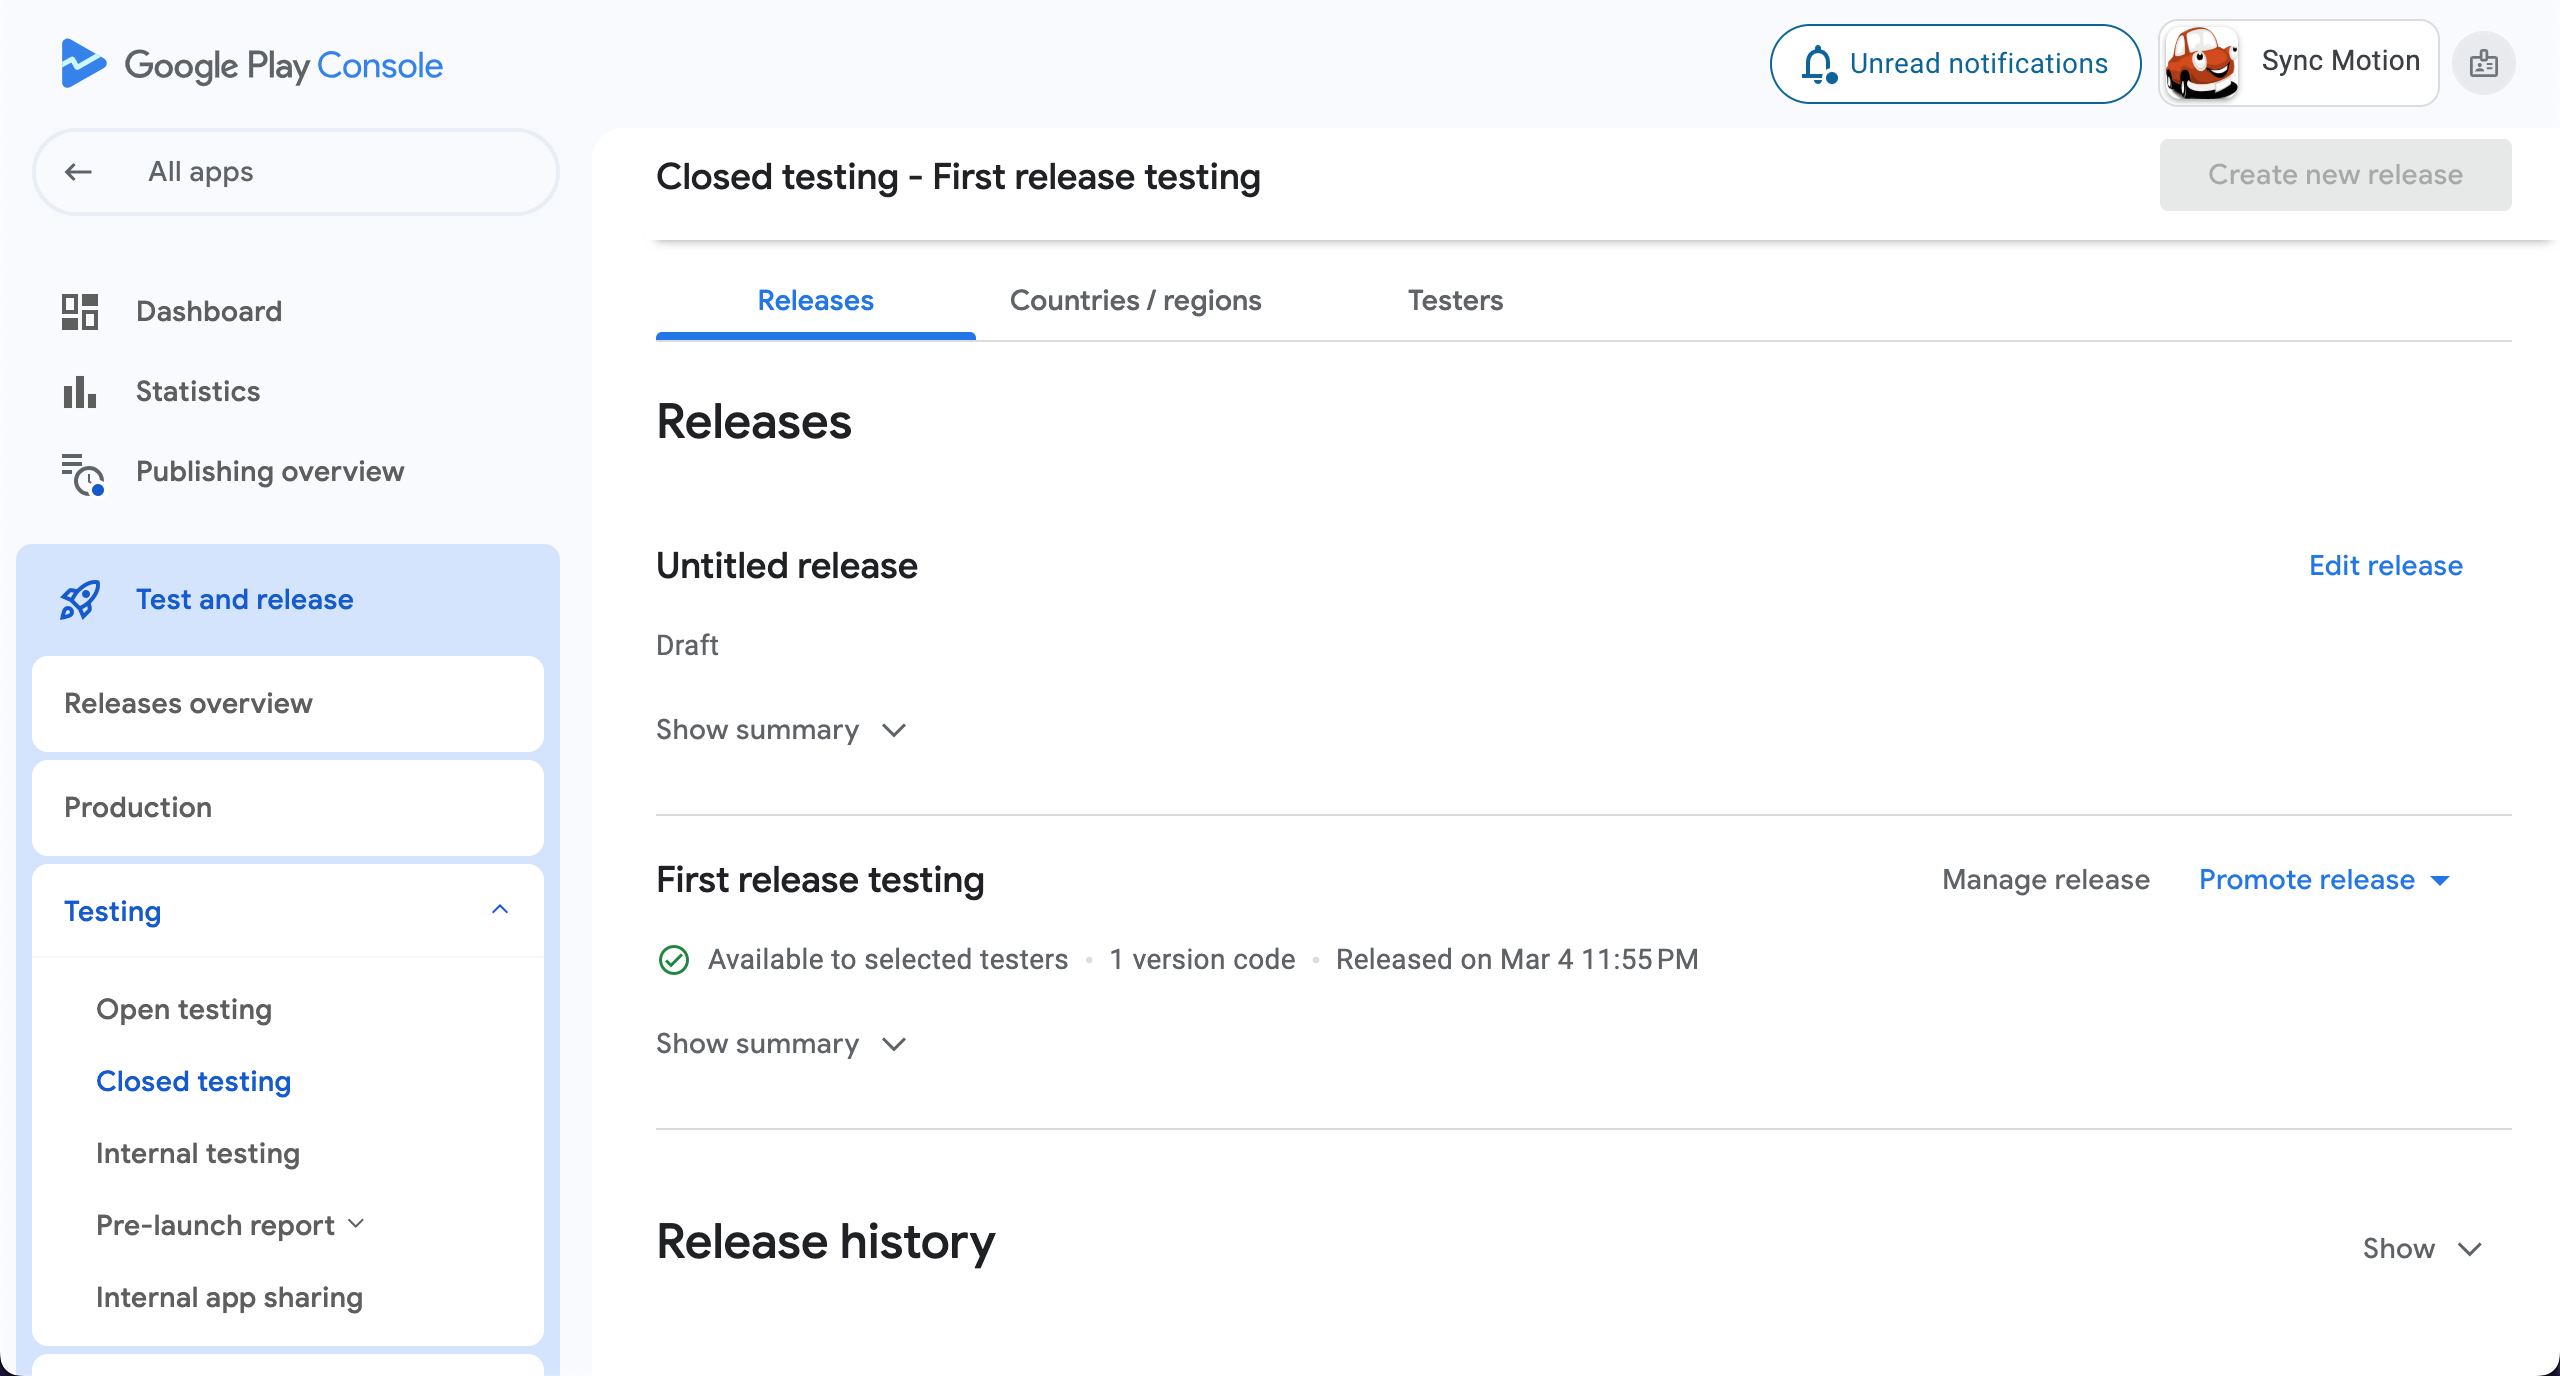
- When you create closed testing successfully, it will show that testing is in ⌛ Review stage.
- In few hours you will get the status as ✅Available to selected testers.
info
- At-lease 12 testers have to test the application for next 12 days continously and then you will be able to